

In this post you will get to follow the manufacturing process and seeing the end result of my second pair from the Swedish bespokeskomakaren Janne Melkersson. For me, these are a bit extra special since my twin brother has made the hand sewn decoration stitch on them.
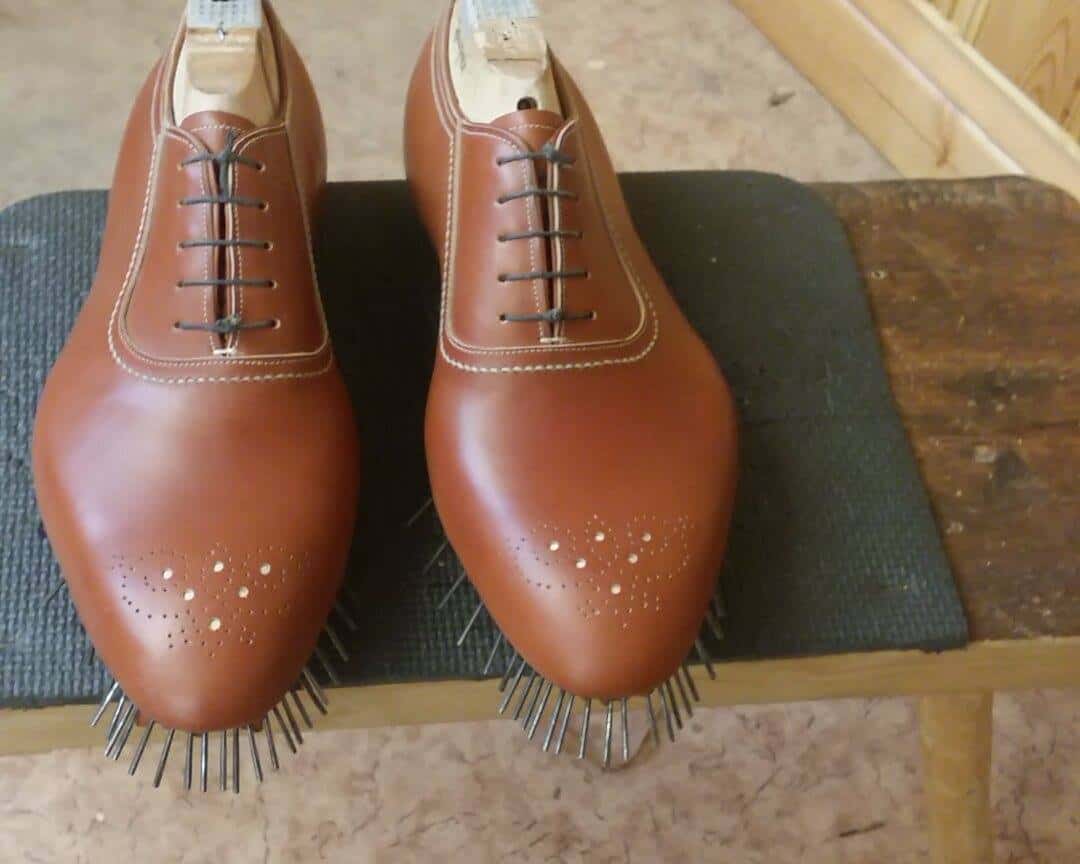
I got the idea for the shoes when I was up visiting Janne 1,5 years ago and made shoes with him in his workshop. The idea from the beginning was that my twin brother, who works as a saddler in a leather workshop in Stockholm, would sew the entire upper leather completely by hand, so that the shoes would be fully real handmade in Sweden. However, we realized there were a lot of problems that come with that, since Jannewould have to coach a lot of the closing work (closing shoe upper is a very special thing, and nothing that my brother ever had done), and they live 550 kilometer from each other, plus my brother is swamped with work already as it is. So in the end we just went with him stitching the decorative stitching on the shoe, which was the essential part. The model is an adelaide with floating medallion, with a contrasting decoration stitch along the opening and facing.
Below a walkthrough of the process in pictures, and then the end result. Photos during the production were taken bu Janne Melkersson, and although he is good at very much, shooting pics is not his strongest side, but it’ll probably work:
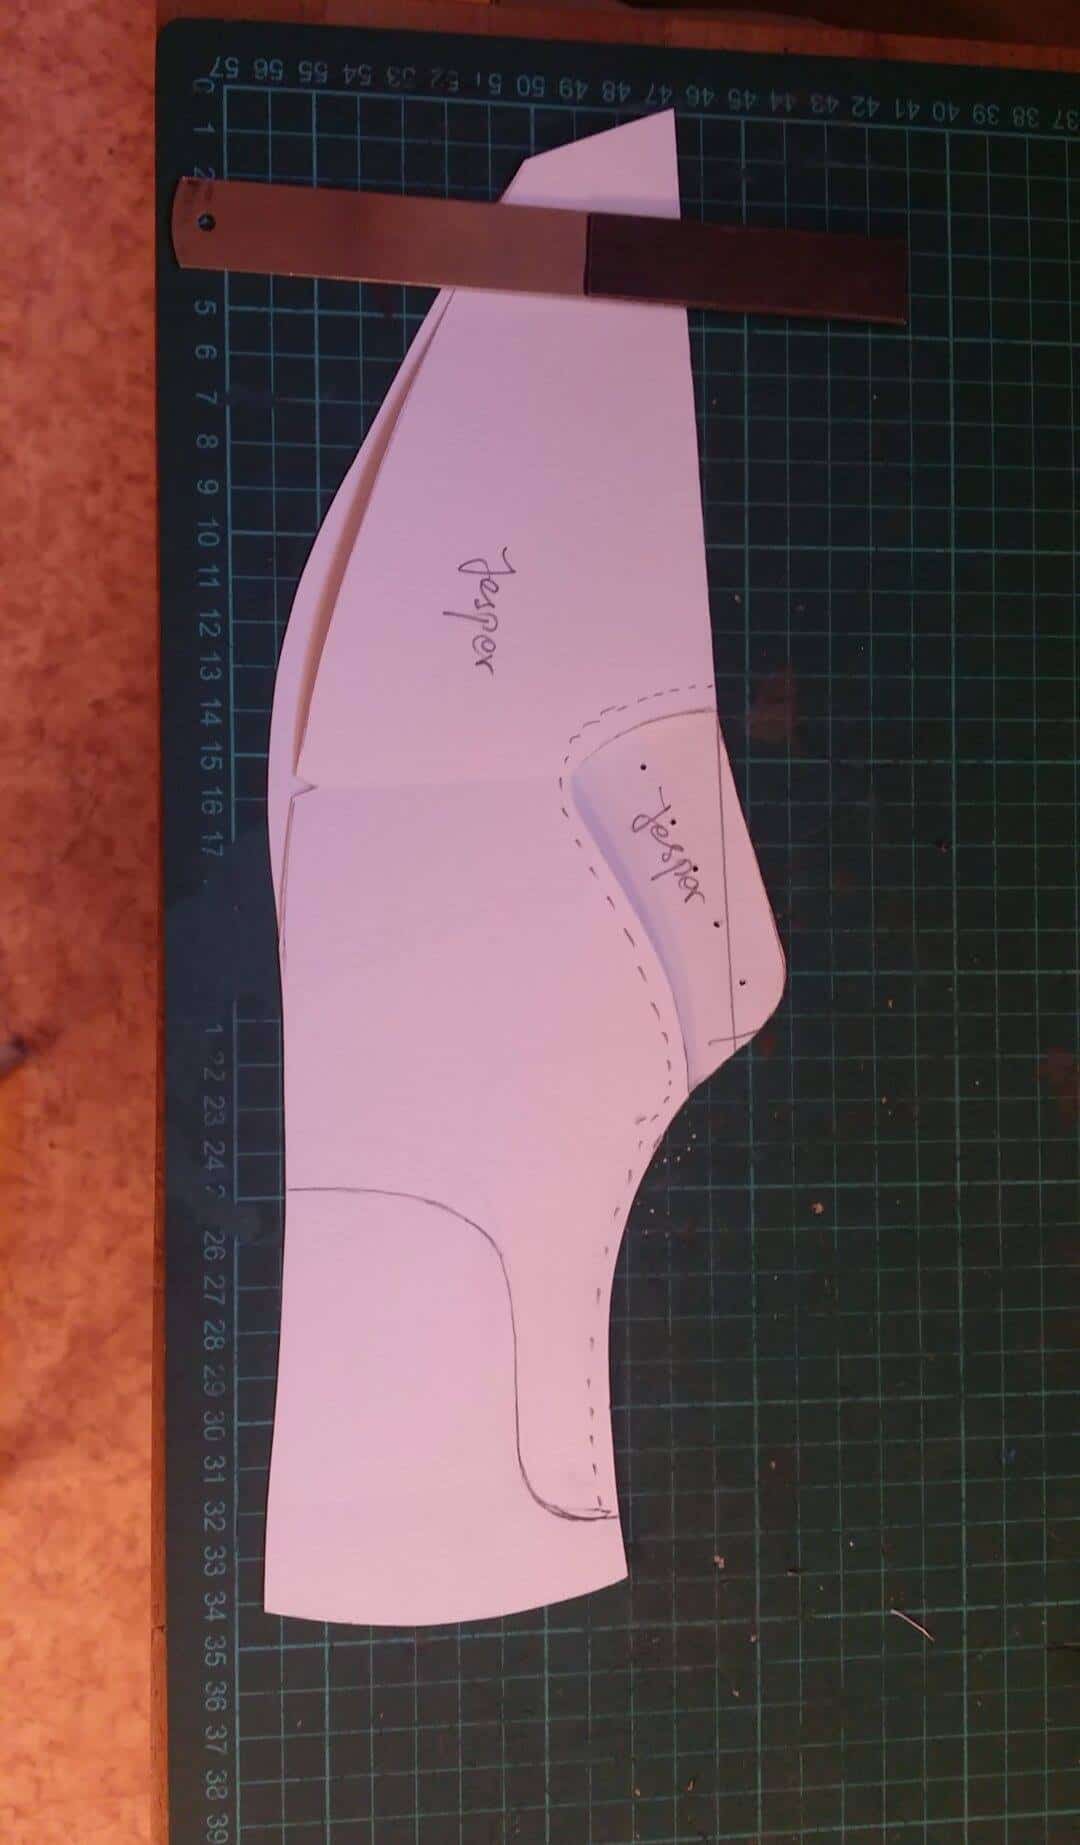
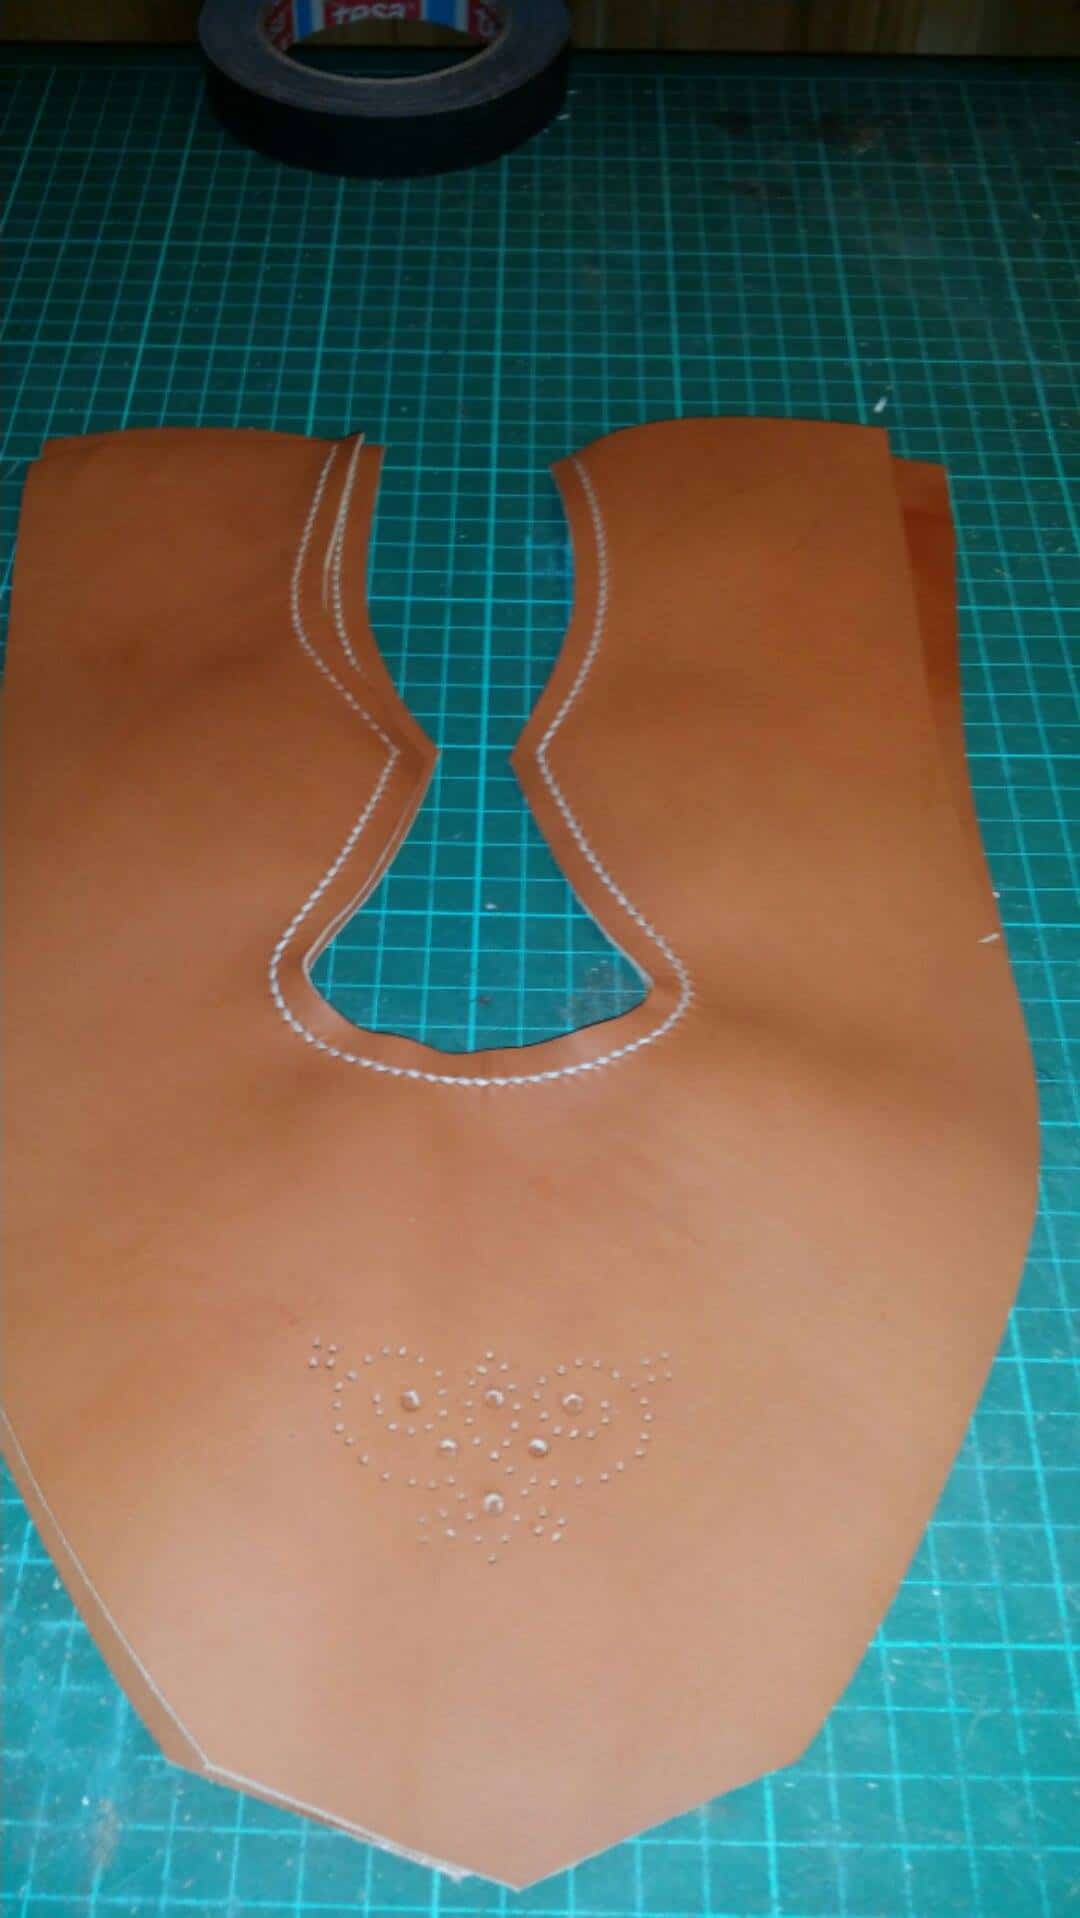
The pattern for the shoe, which I was drawing partly myself.
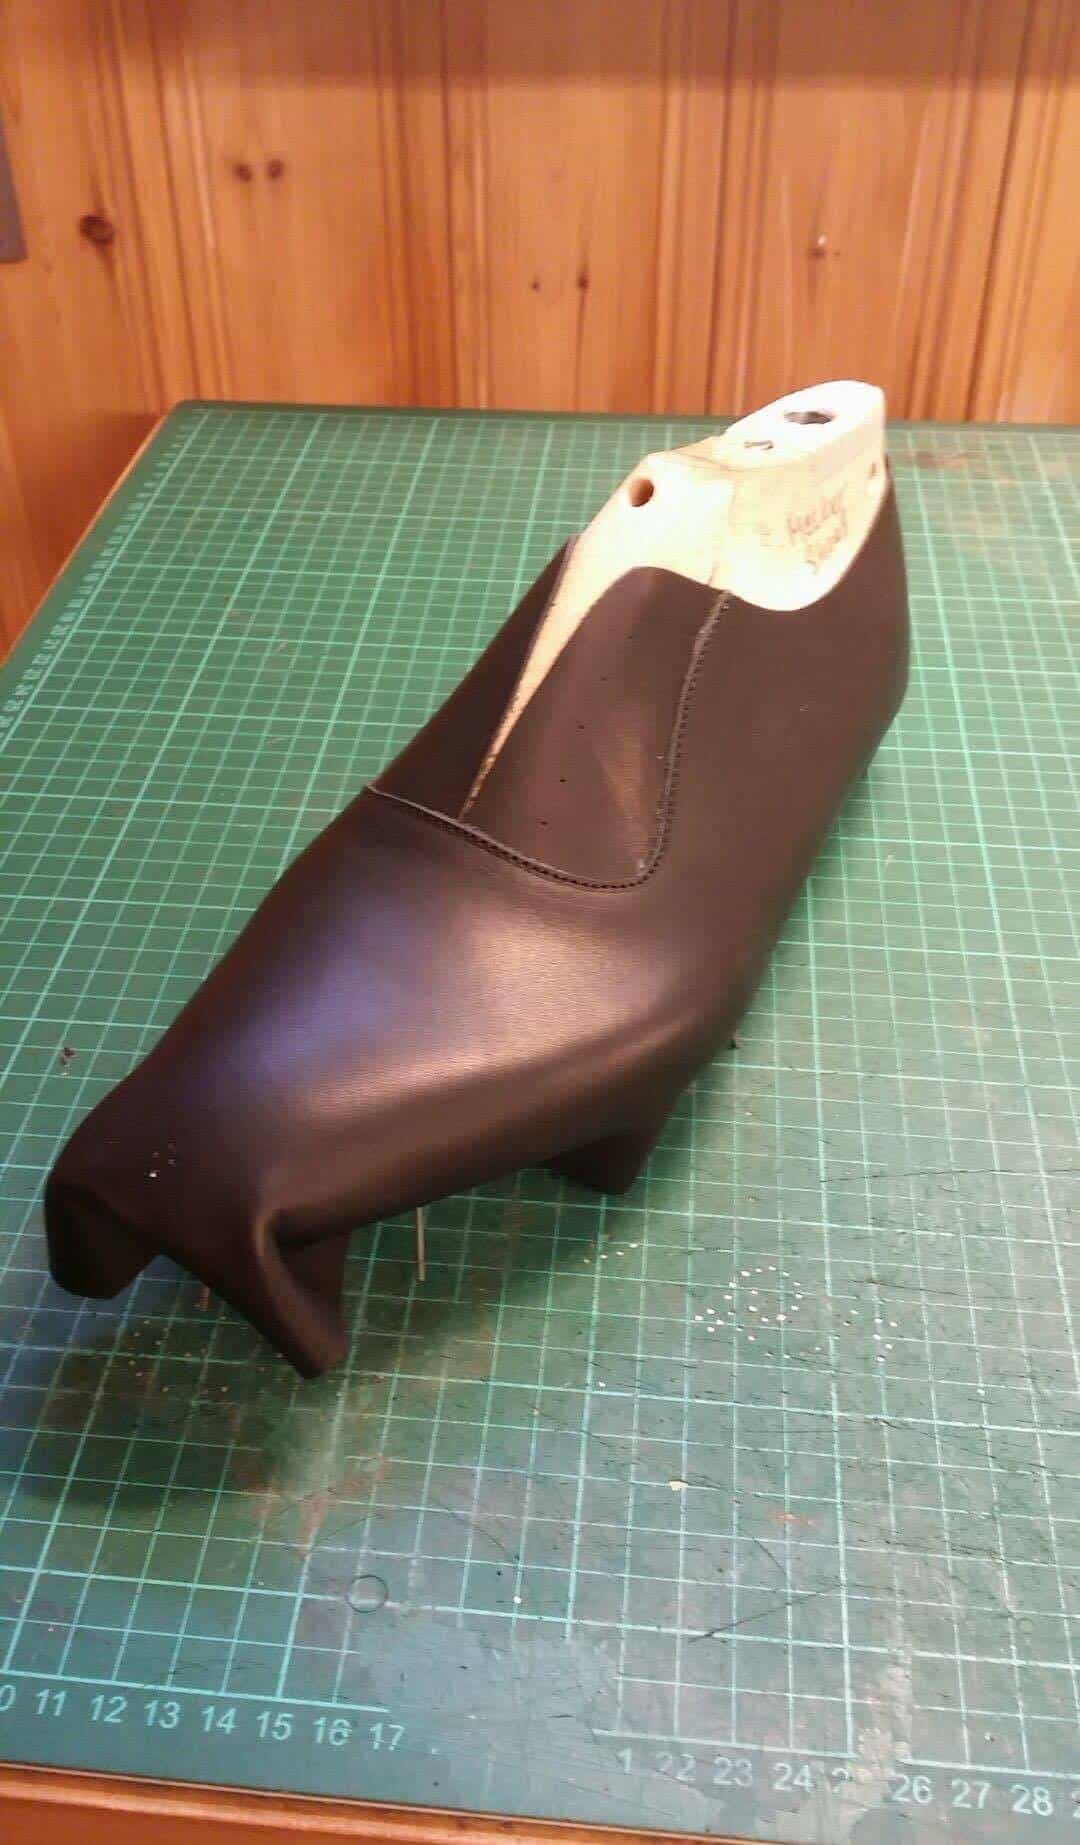
Here Janne has made a sample upper of scrap leather, which always is made when there’s a new pattern for a pair of lasts.
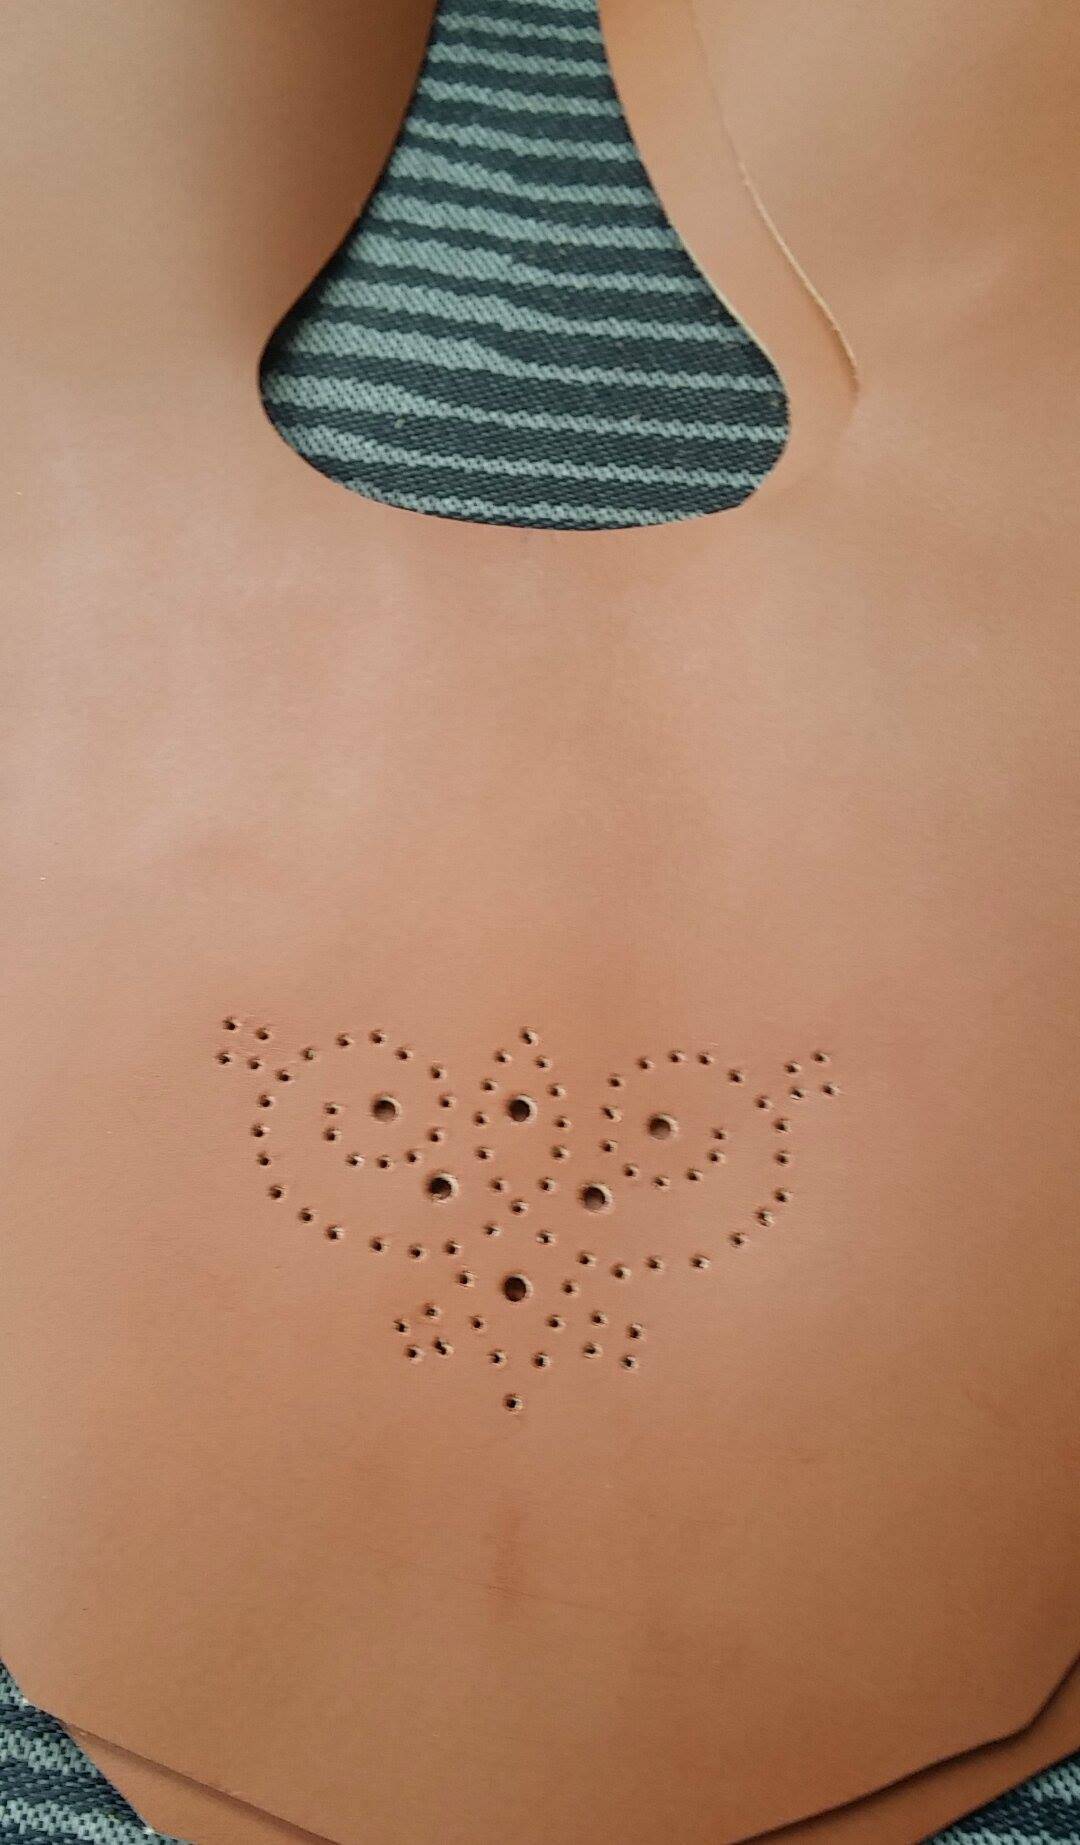
Janne made the medallion before he sent the shoes to my brother, so that this wouldn’t be screwed up and all my brother’s work would be made in vain.
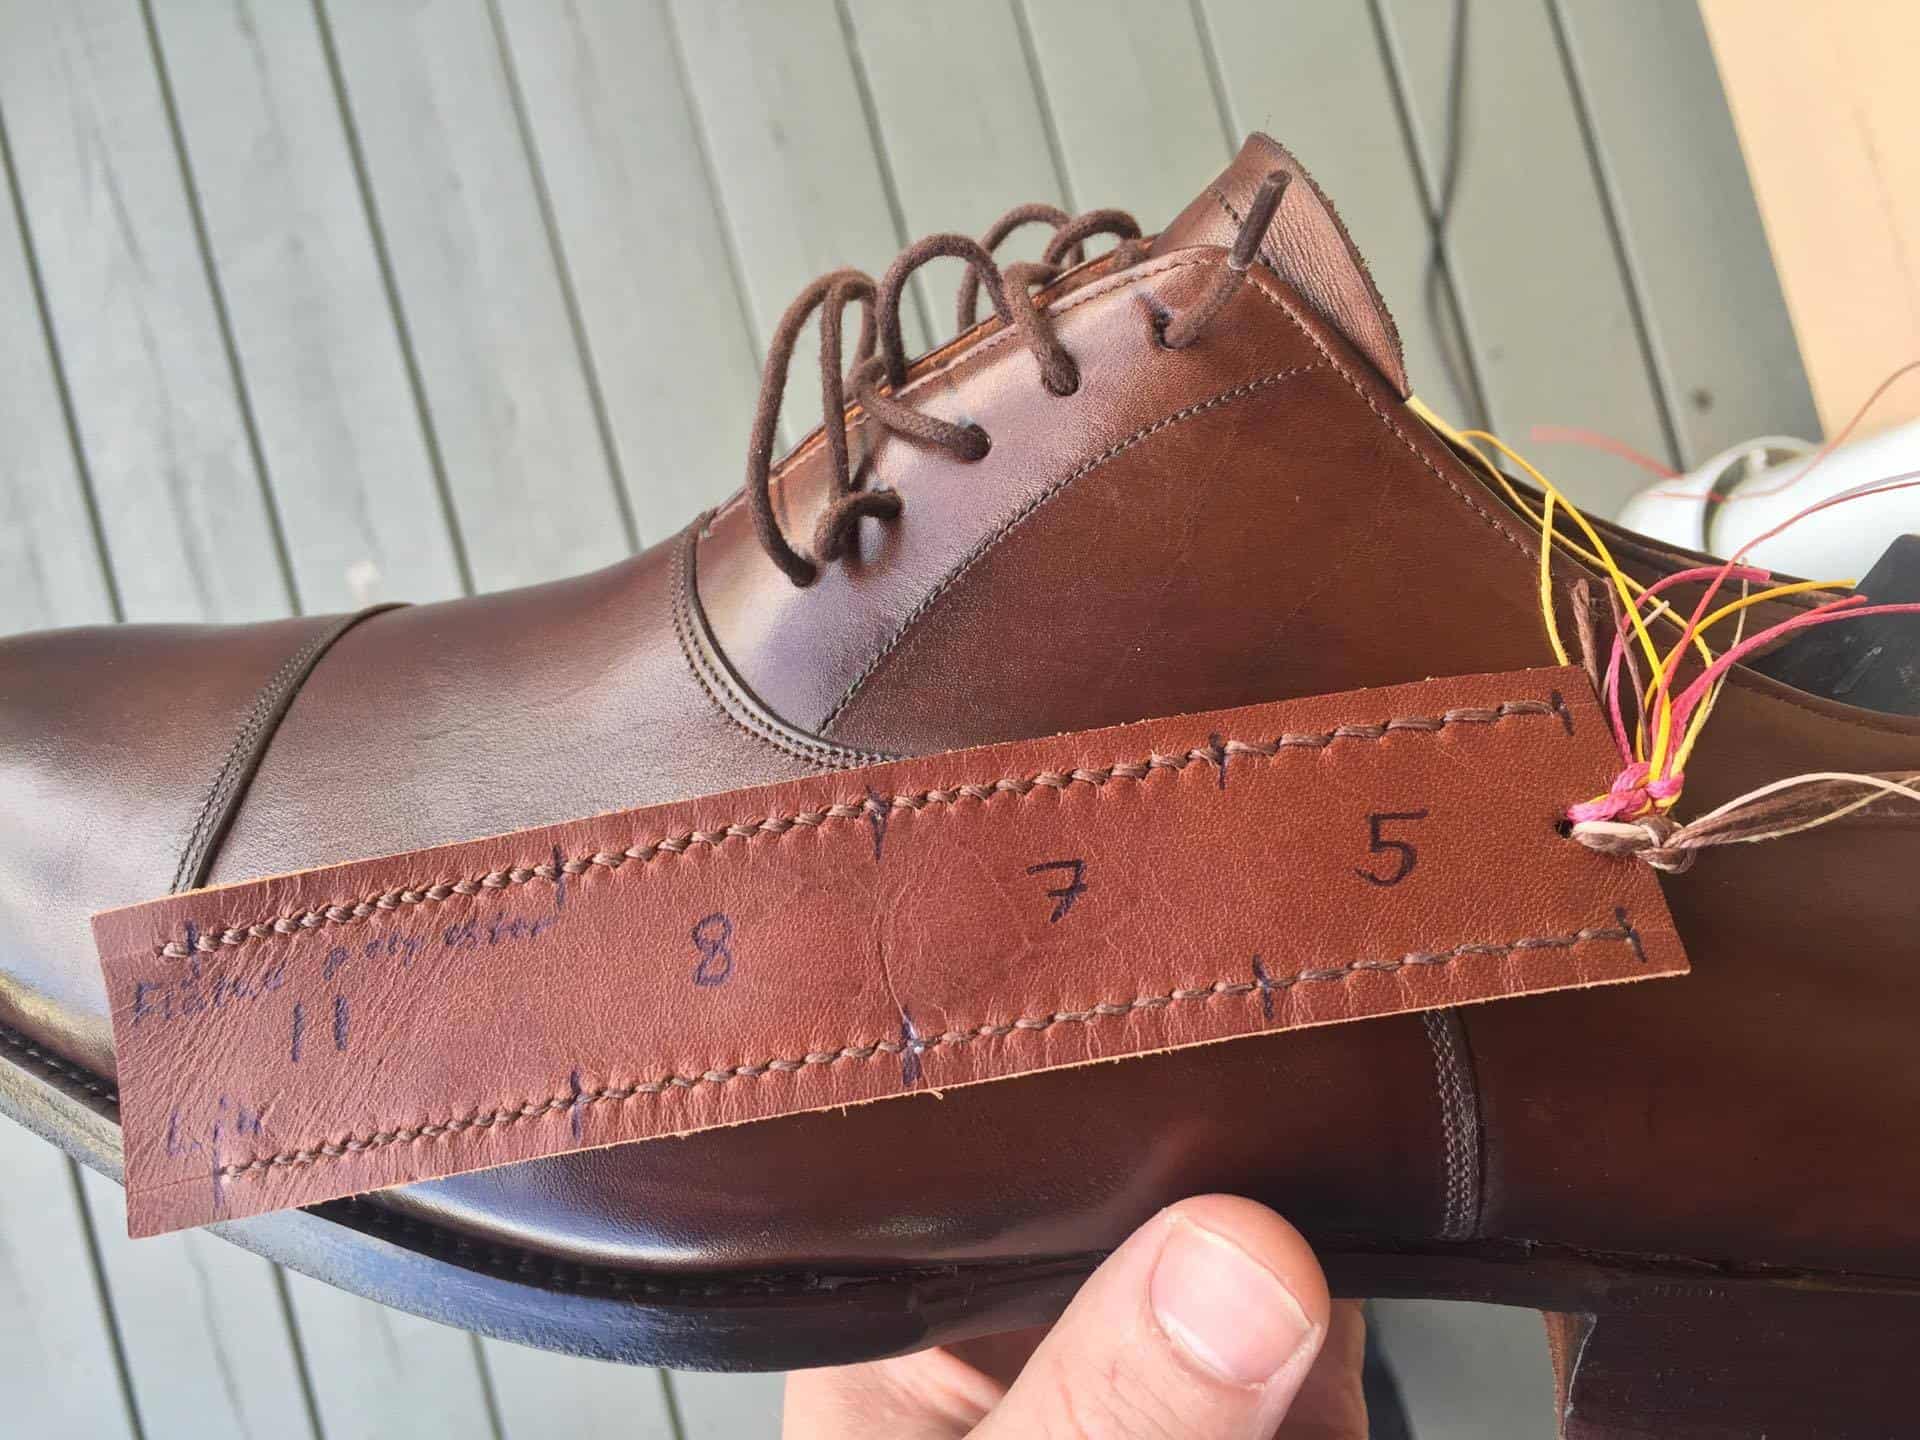
A sort of “tool” that my brother made to make it easier to decide how the decoration stitch should be made. I chose the upper thicker thread in off white with 8 spi, which would sync well with the sole stitch that Janne makes in 8 spi.
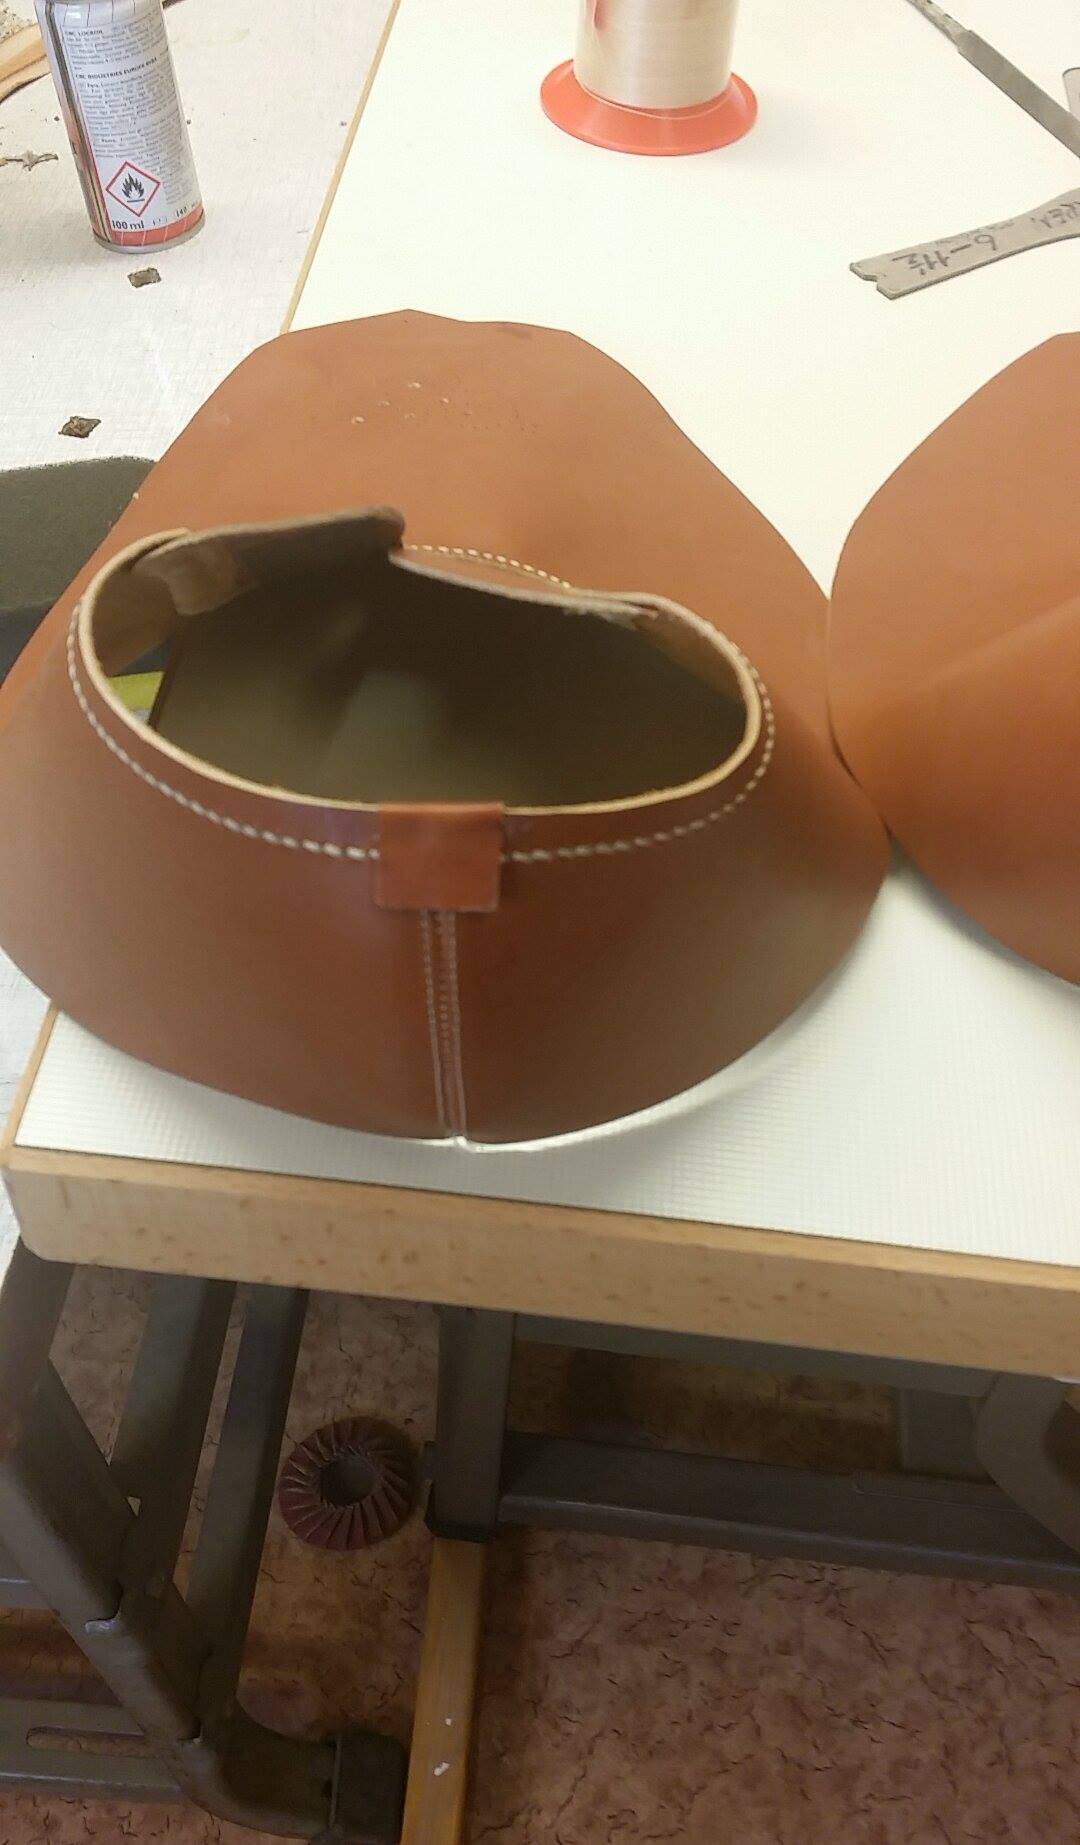
Here Janne has received the upper parts back from my brother, with two neatly done hand stitched seams.

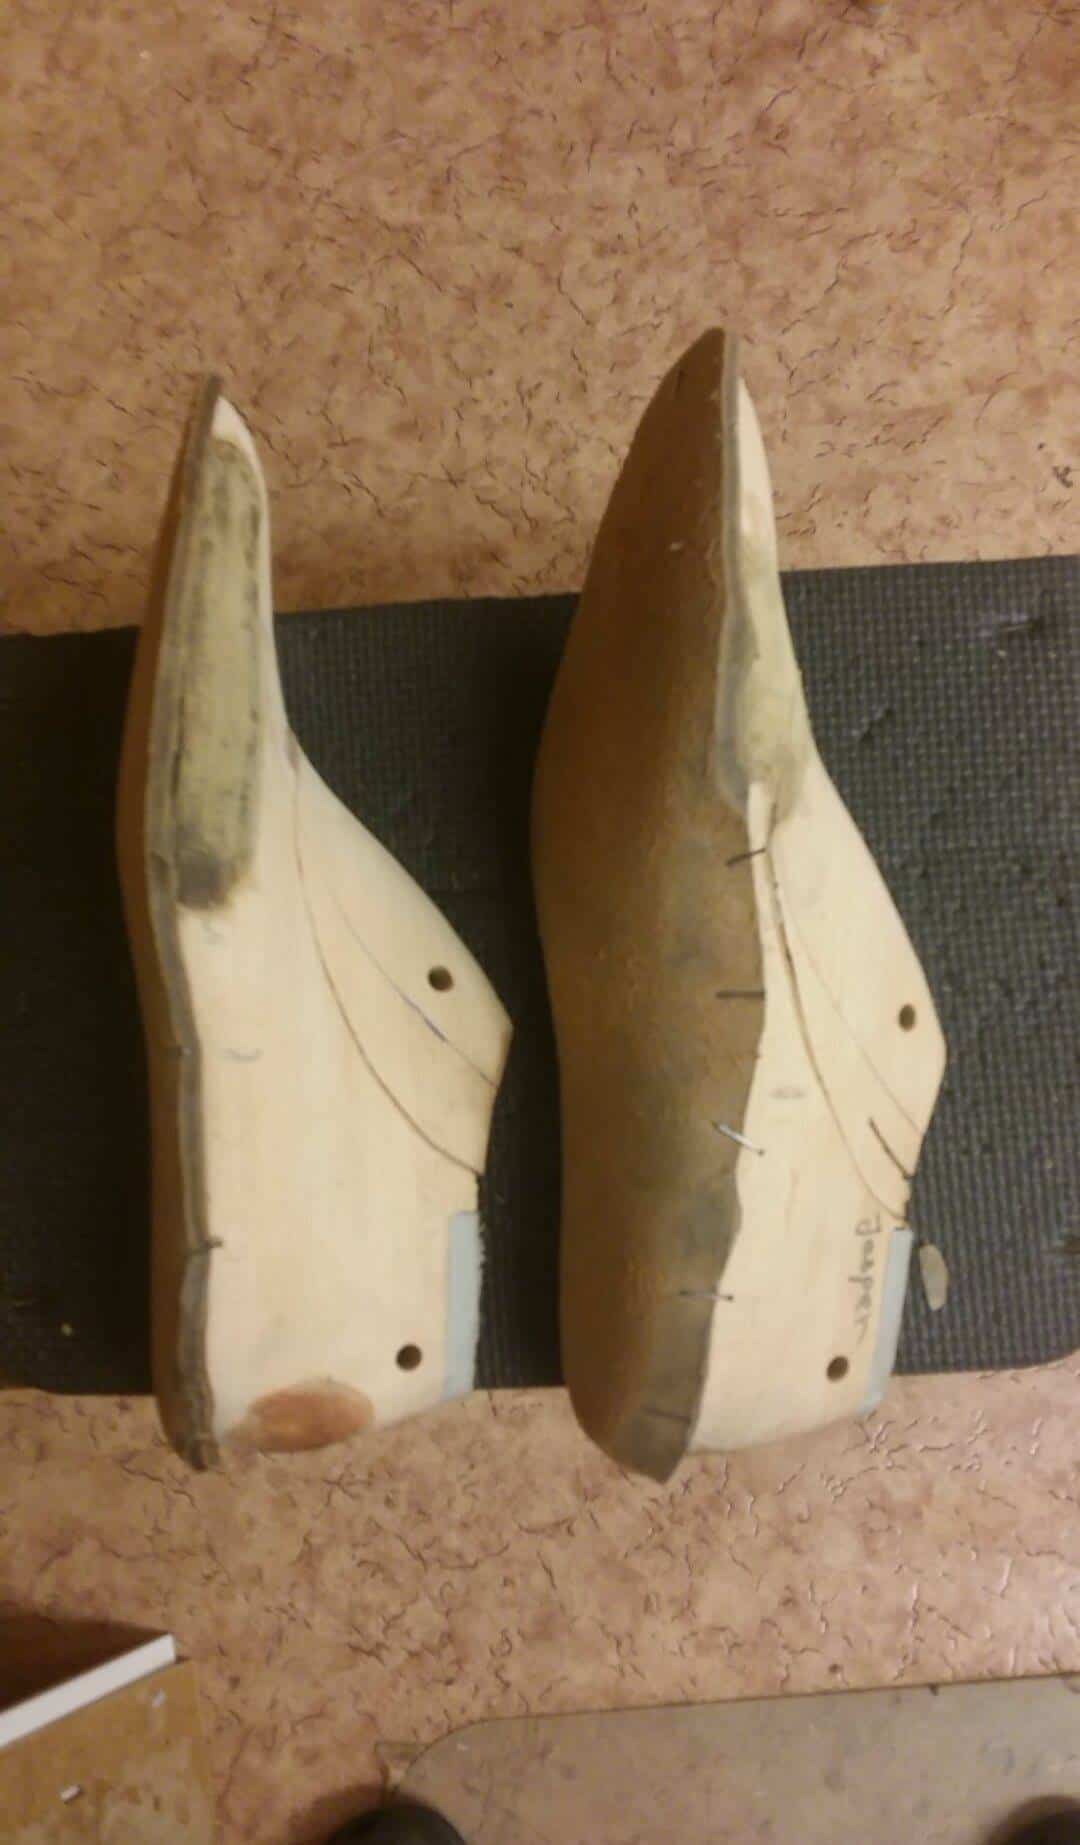
Some modifications were made on the lasts, mainly adding a bit extra space for the pinky toes and inner ball area.
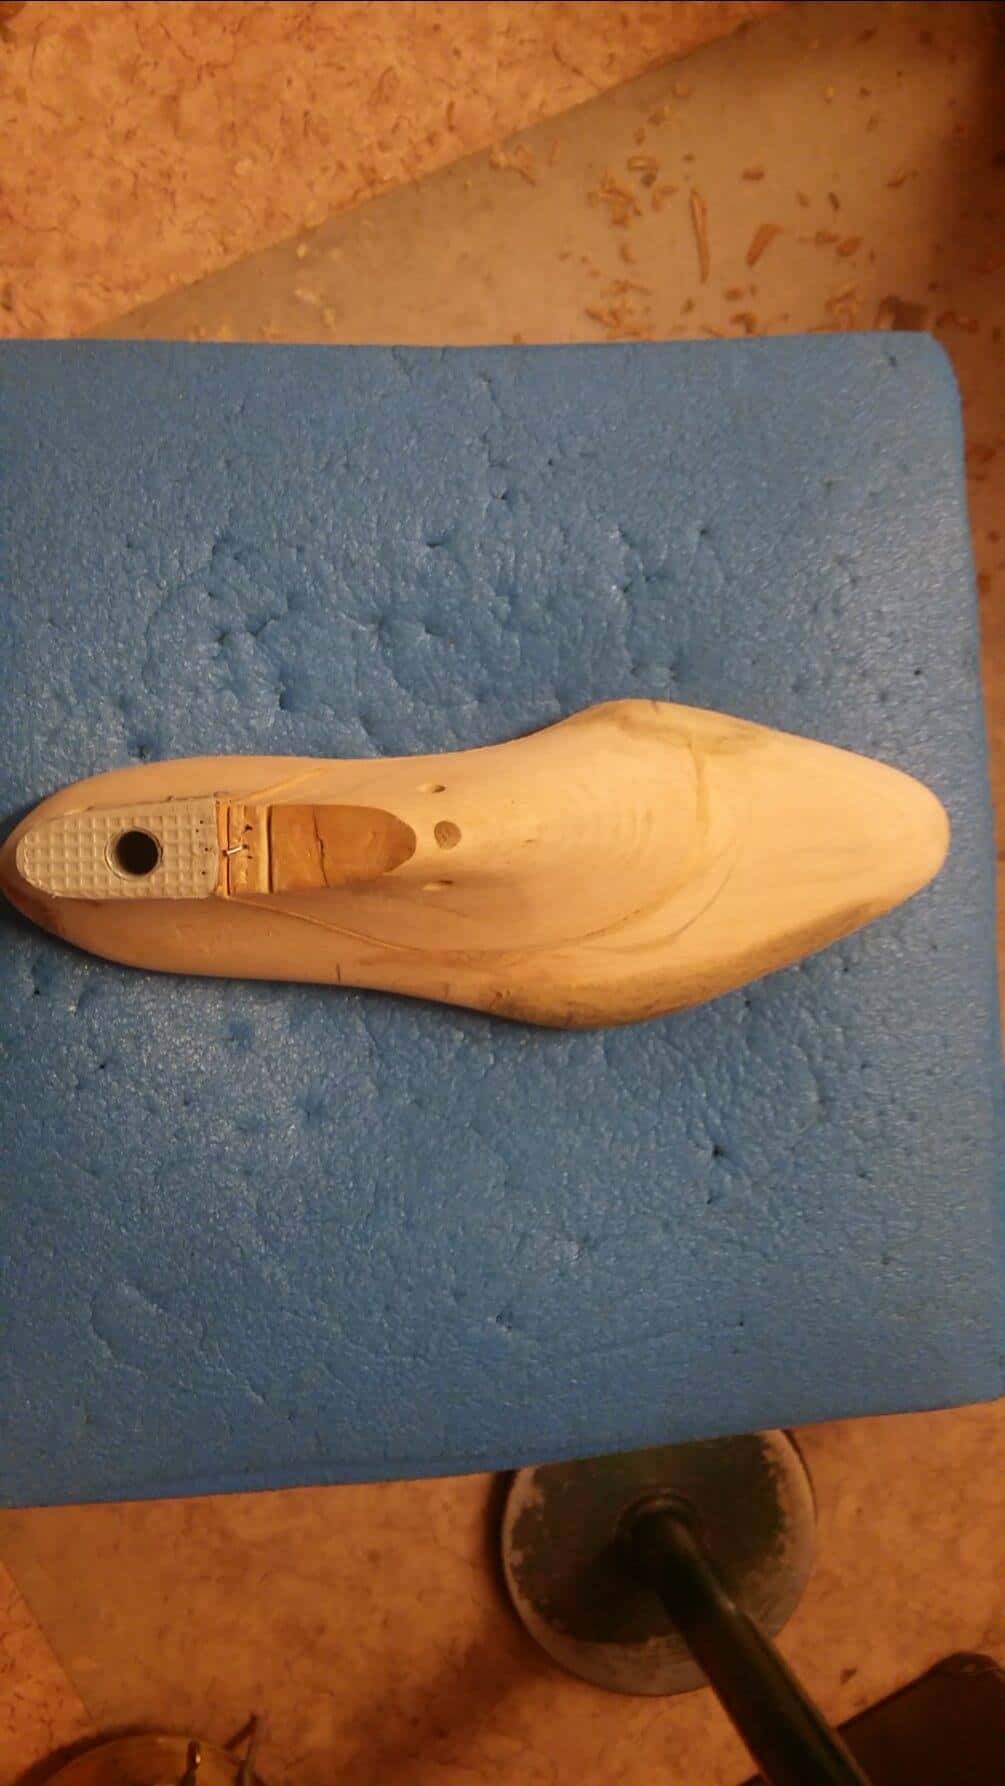
Here the fitting pieces are sanded down (was only a few millimeters needed). He also removed some material under the arch since there was some space there on the first pair.
Closing of the upper continues.
Closing of the upper continues. Here the back seam is made, an inverted one.
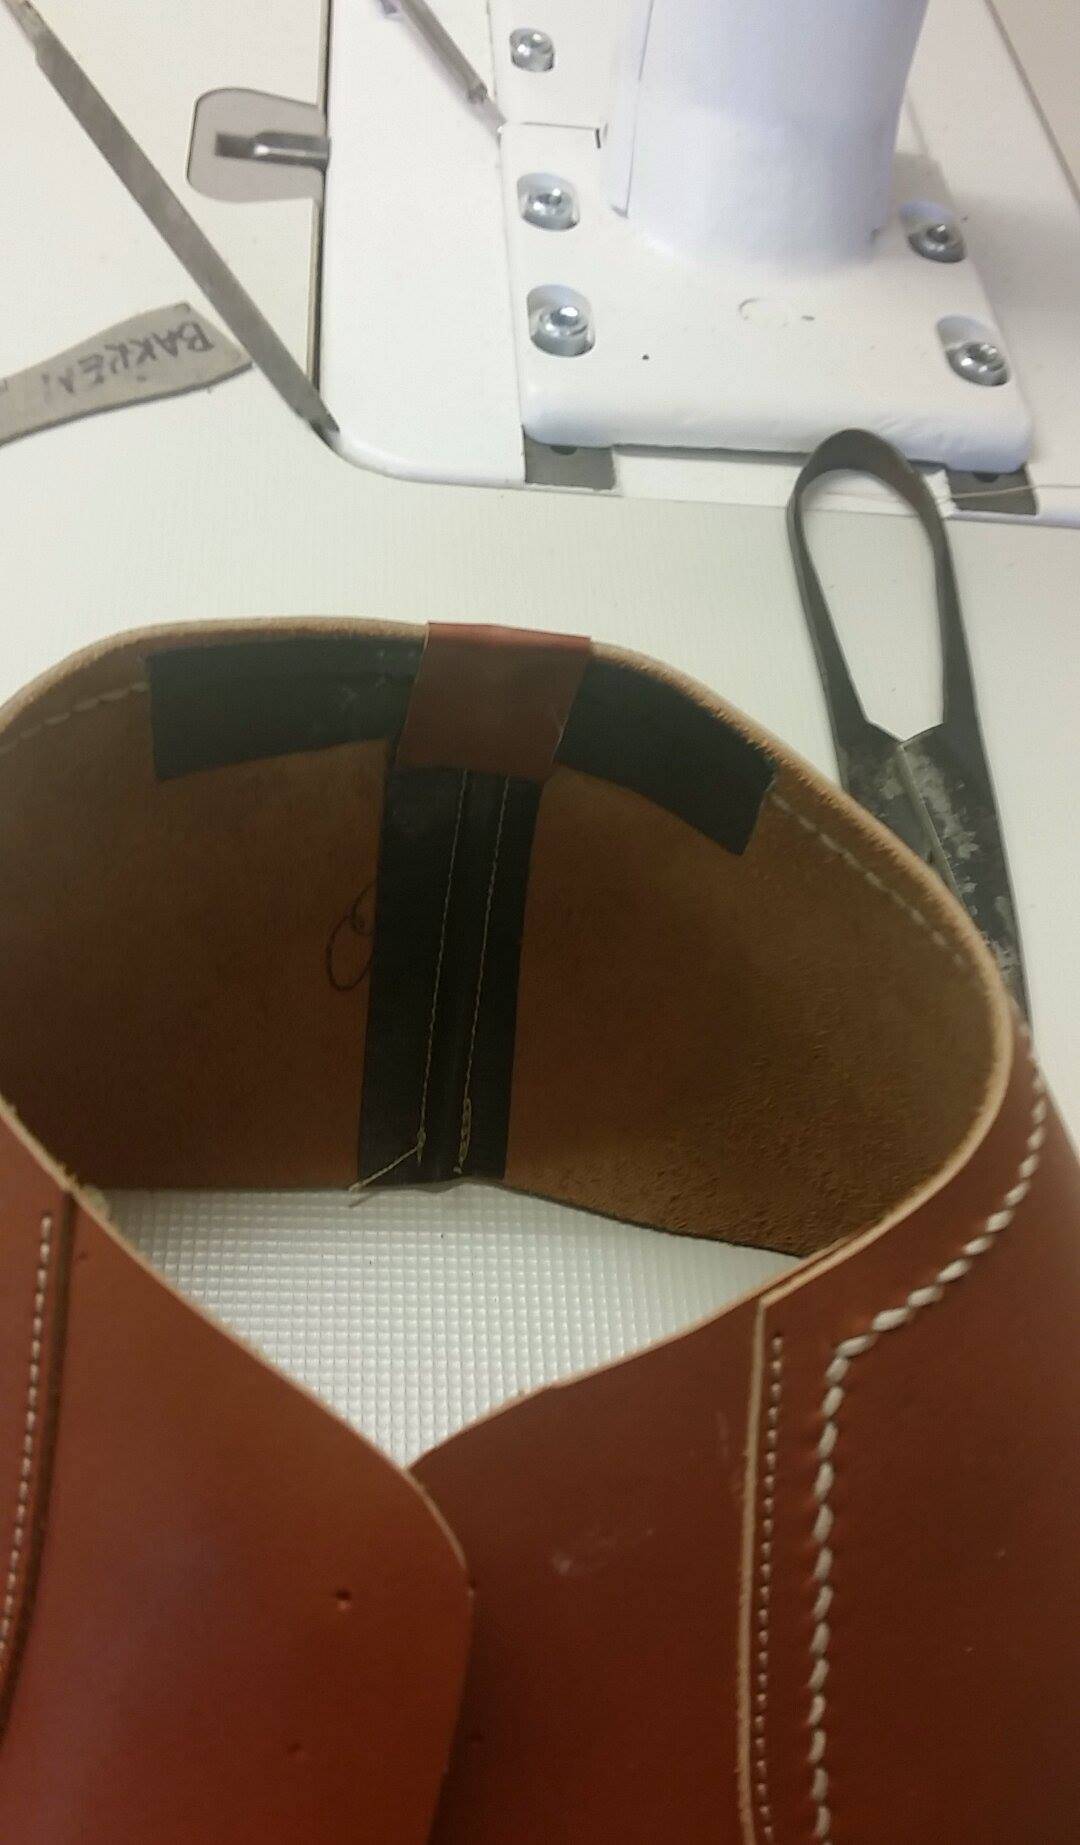
Inside reinforcements.
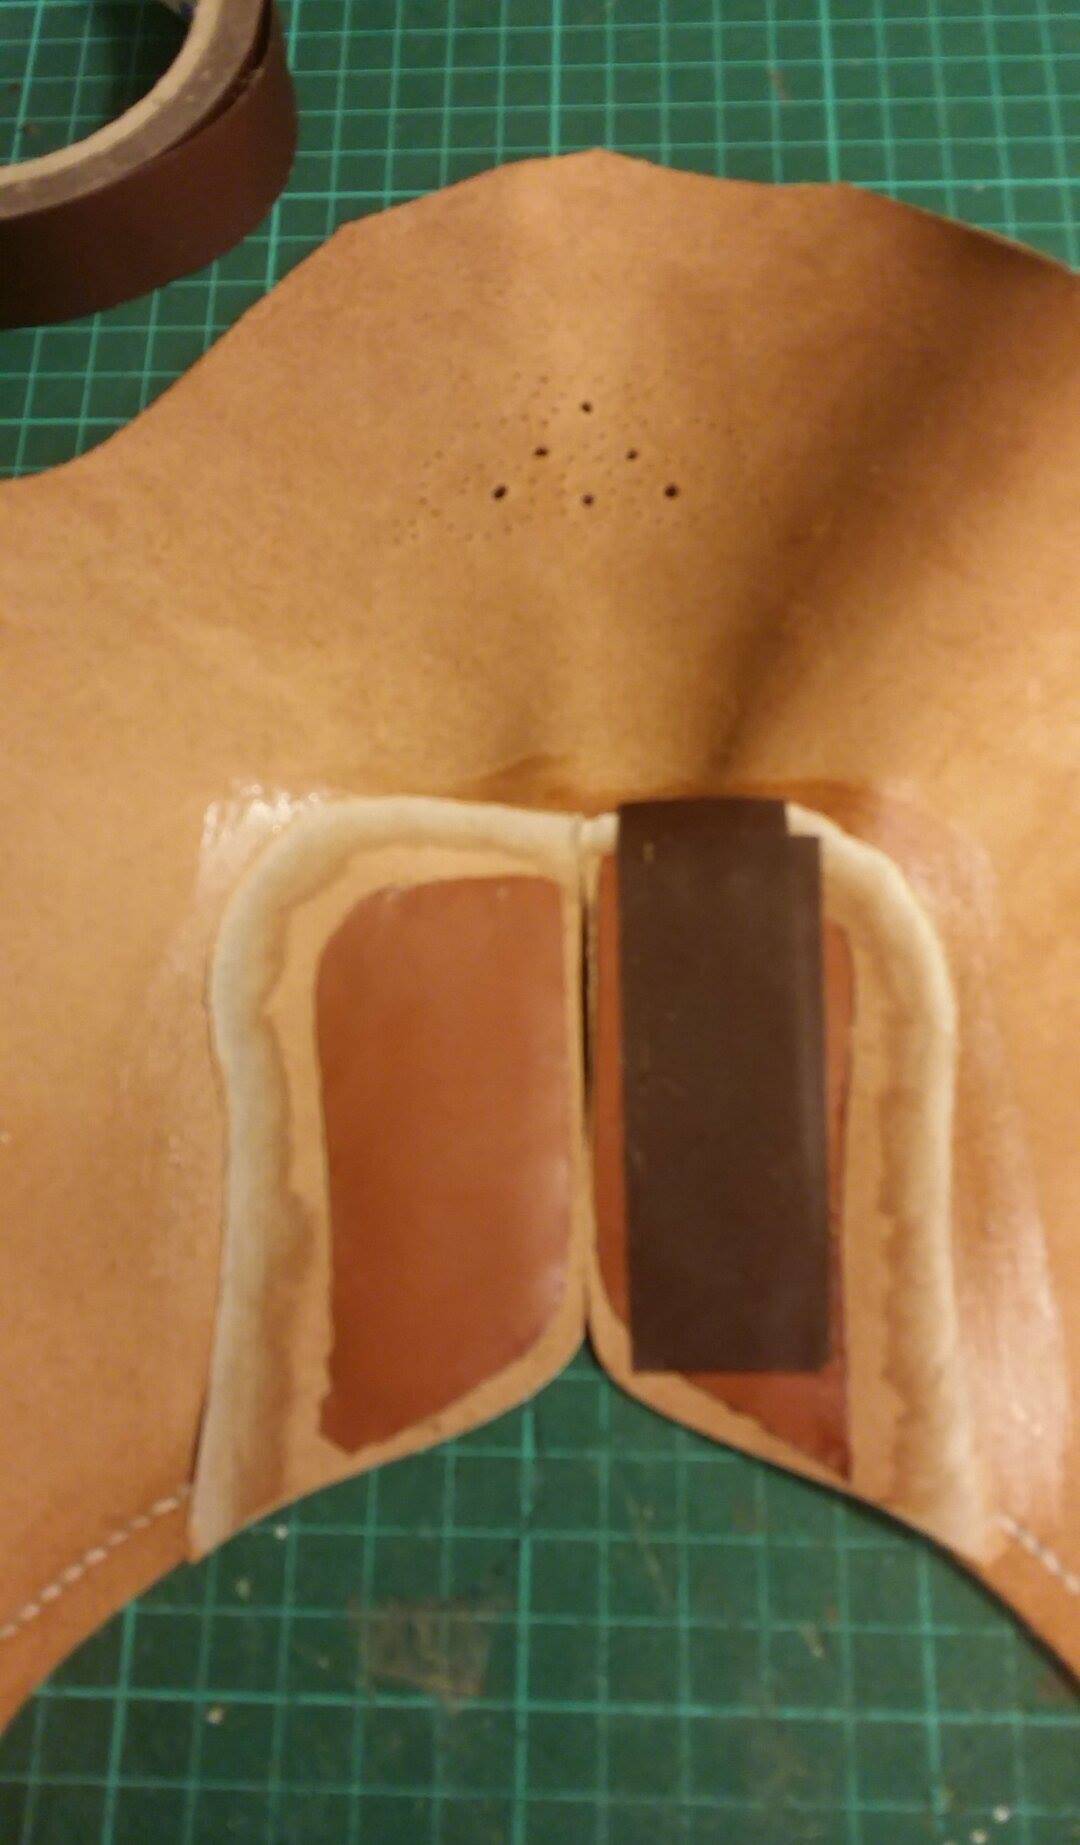
More reinforcements, this piece will be stitched with the seam attaching the lining later, and the cut shorter.
Reinforcements on other places, here for the lacing.
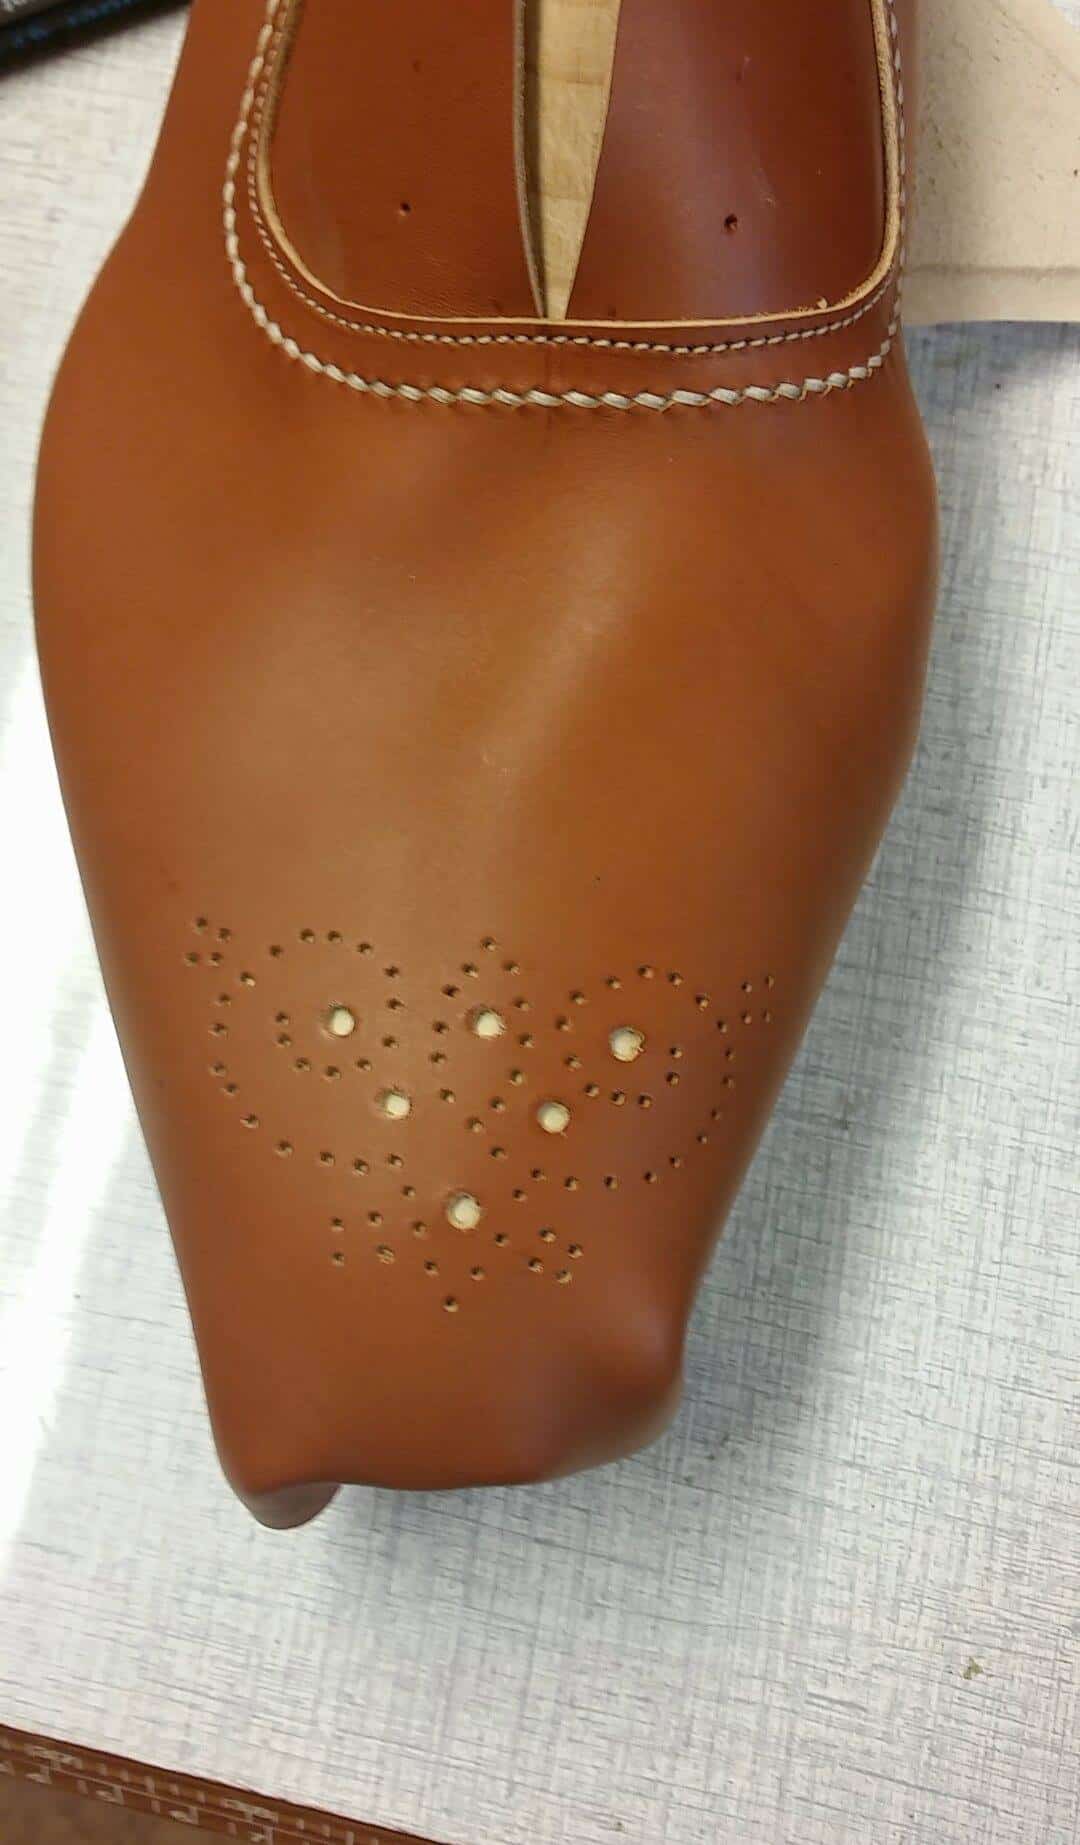
Below the medallion a light coloured leather piece is placed, which shines through the holes, matching well with the decoration stitch.
Blocking insoles.

Here the uppers are more or less ready, and the holdfast for the welt stitching is carved out of the insoles.
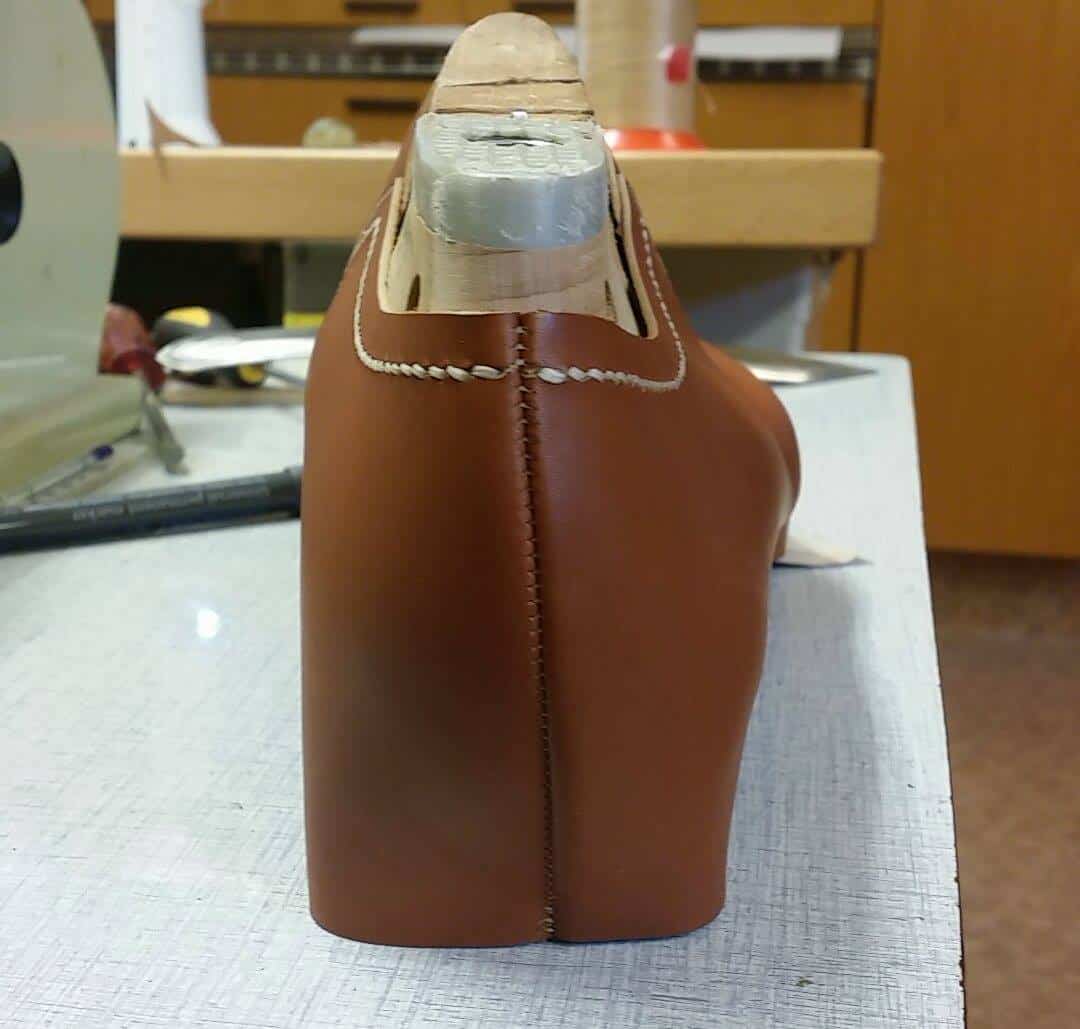
A first, loser lasting.
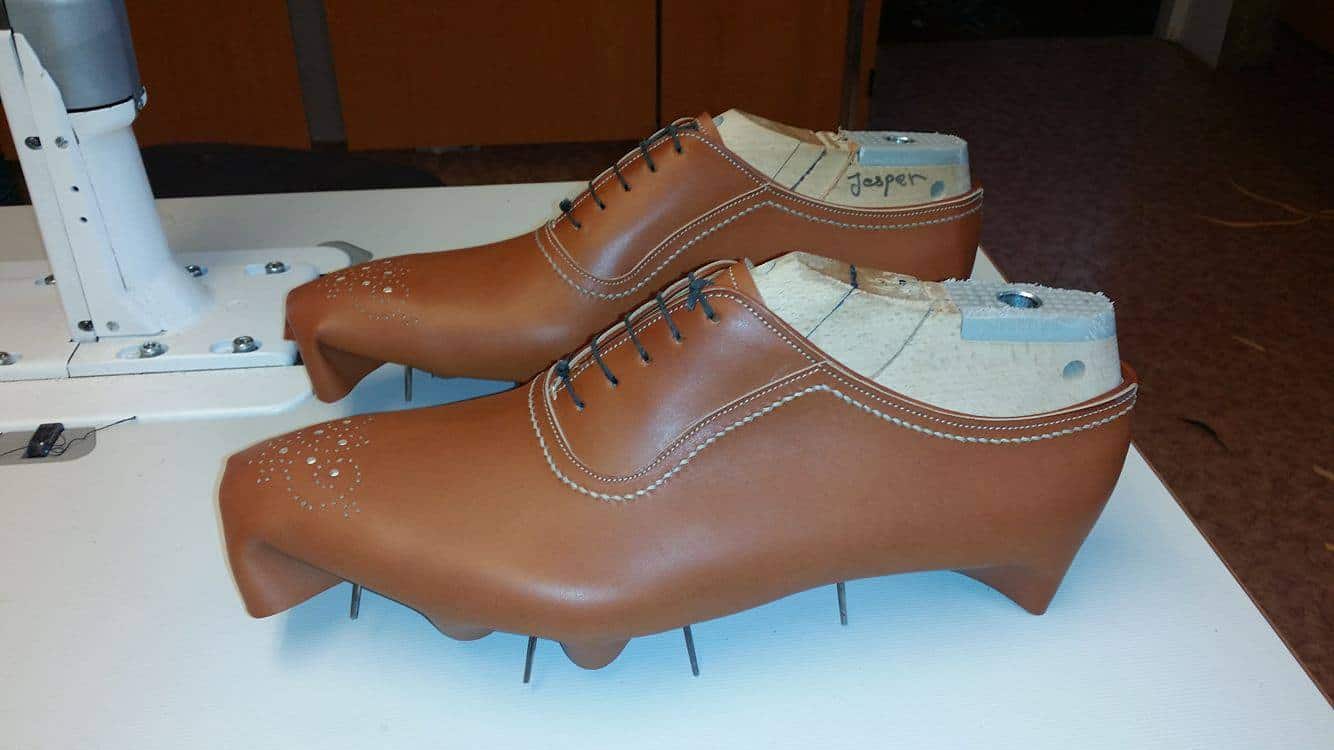
From another view.
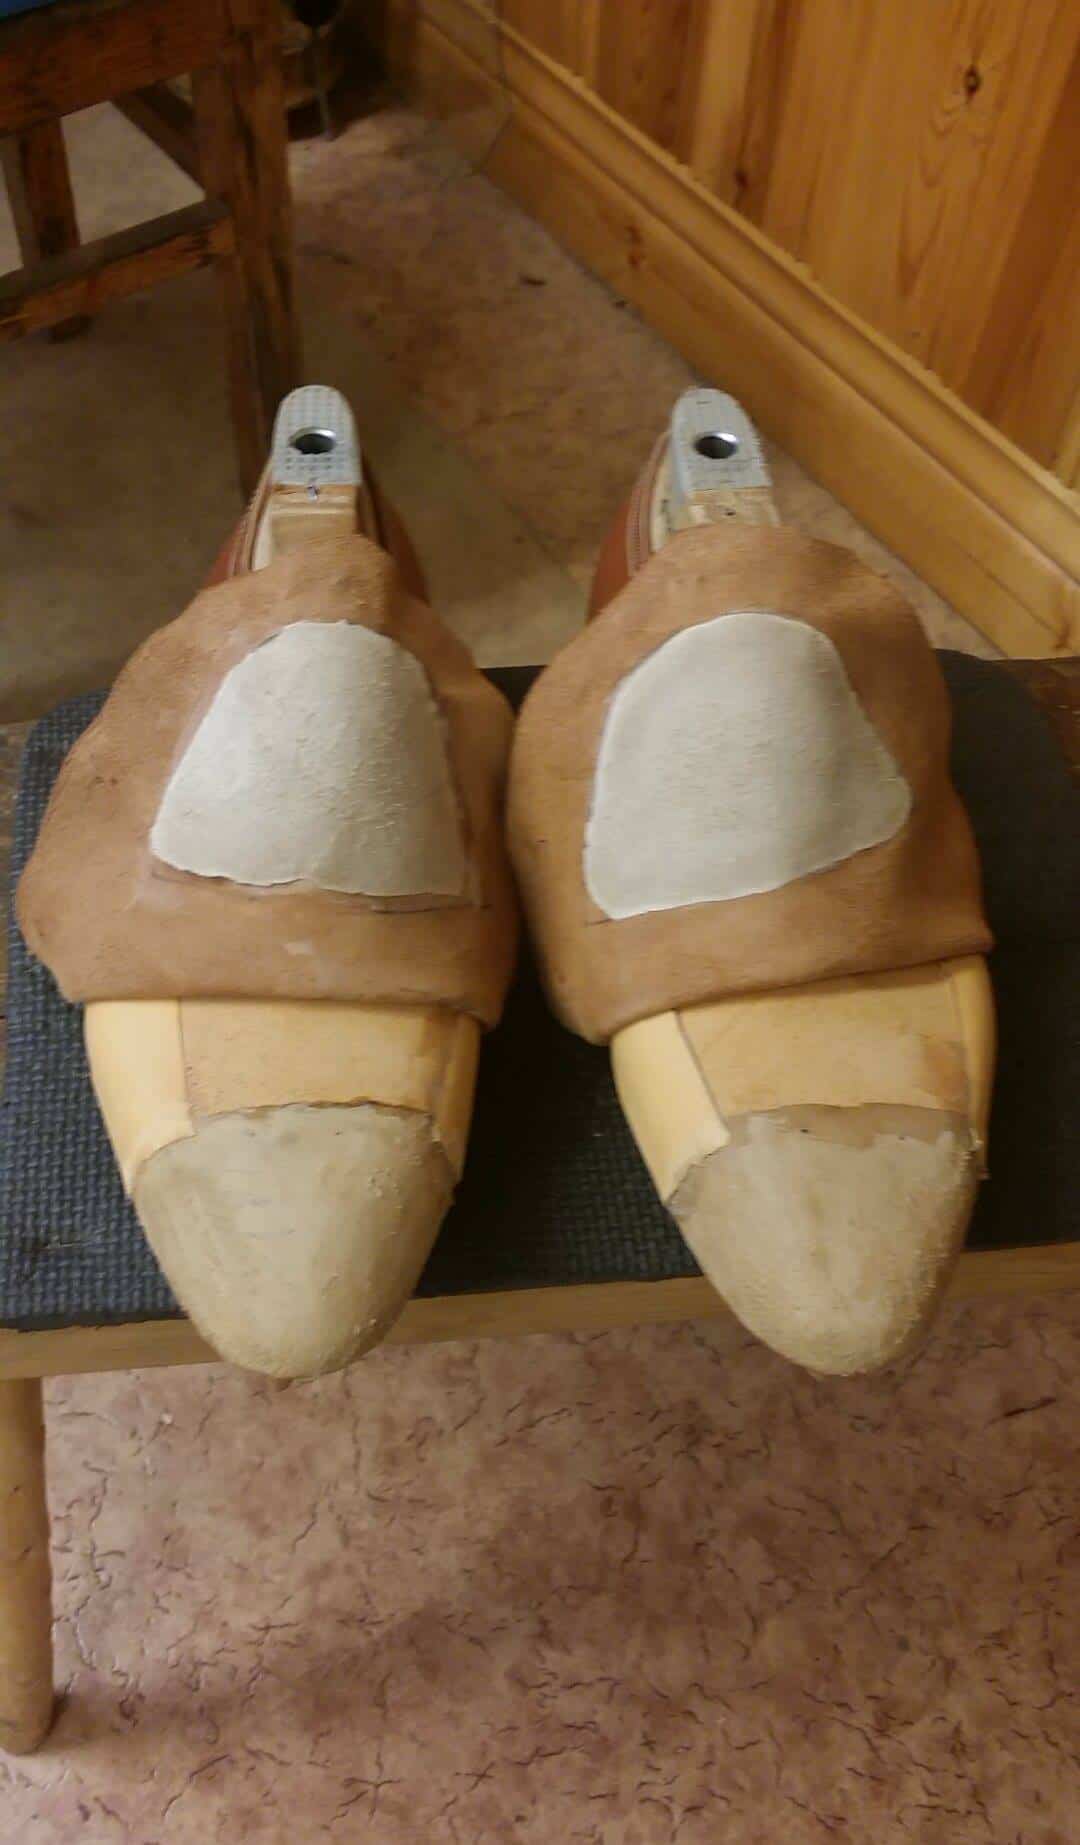
Toe stiffeners and side reinforcements attached.
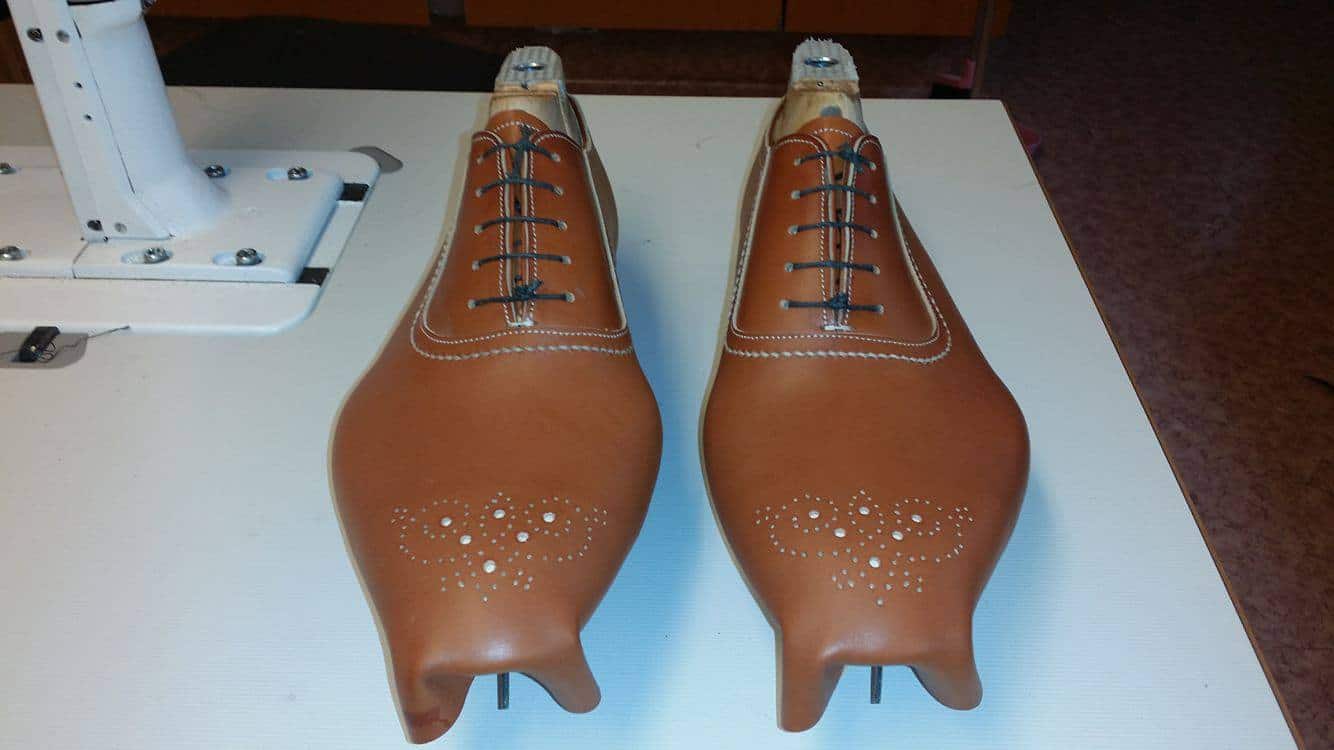
Lasting done.
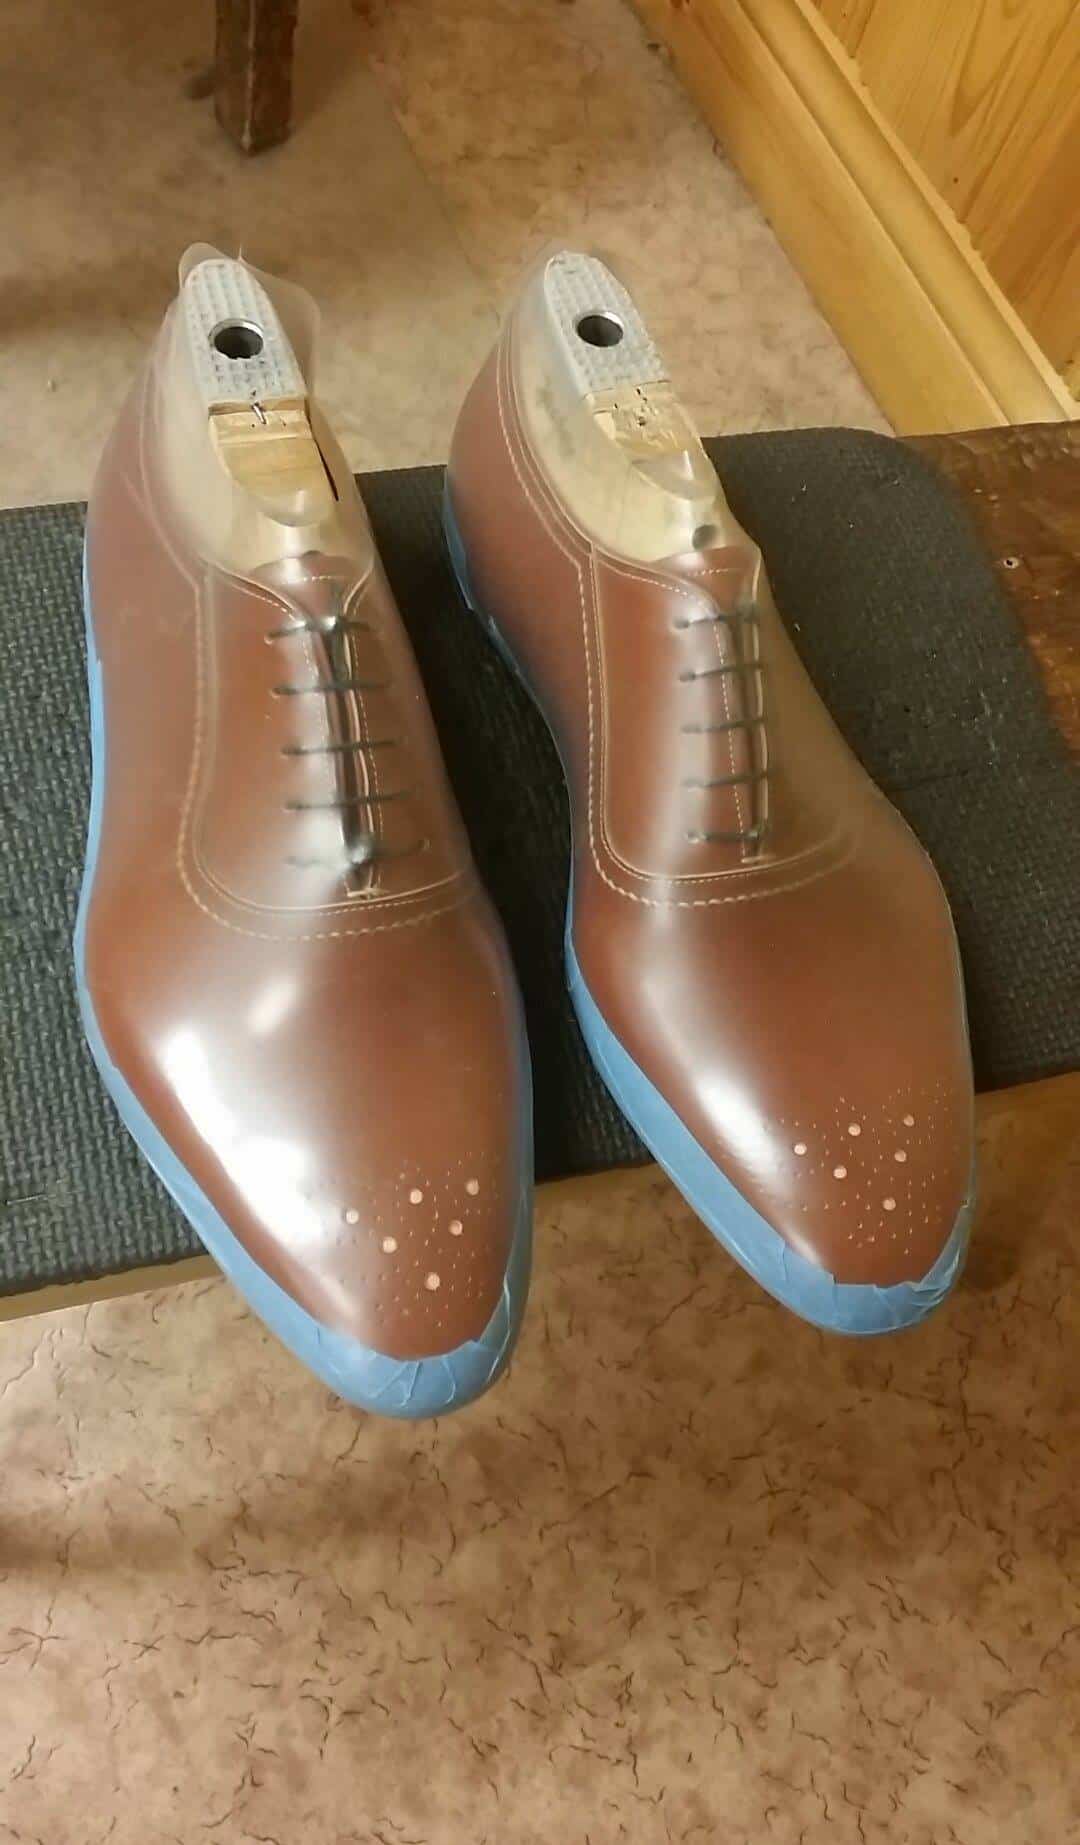
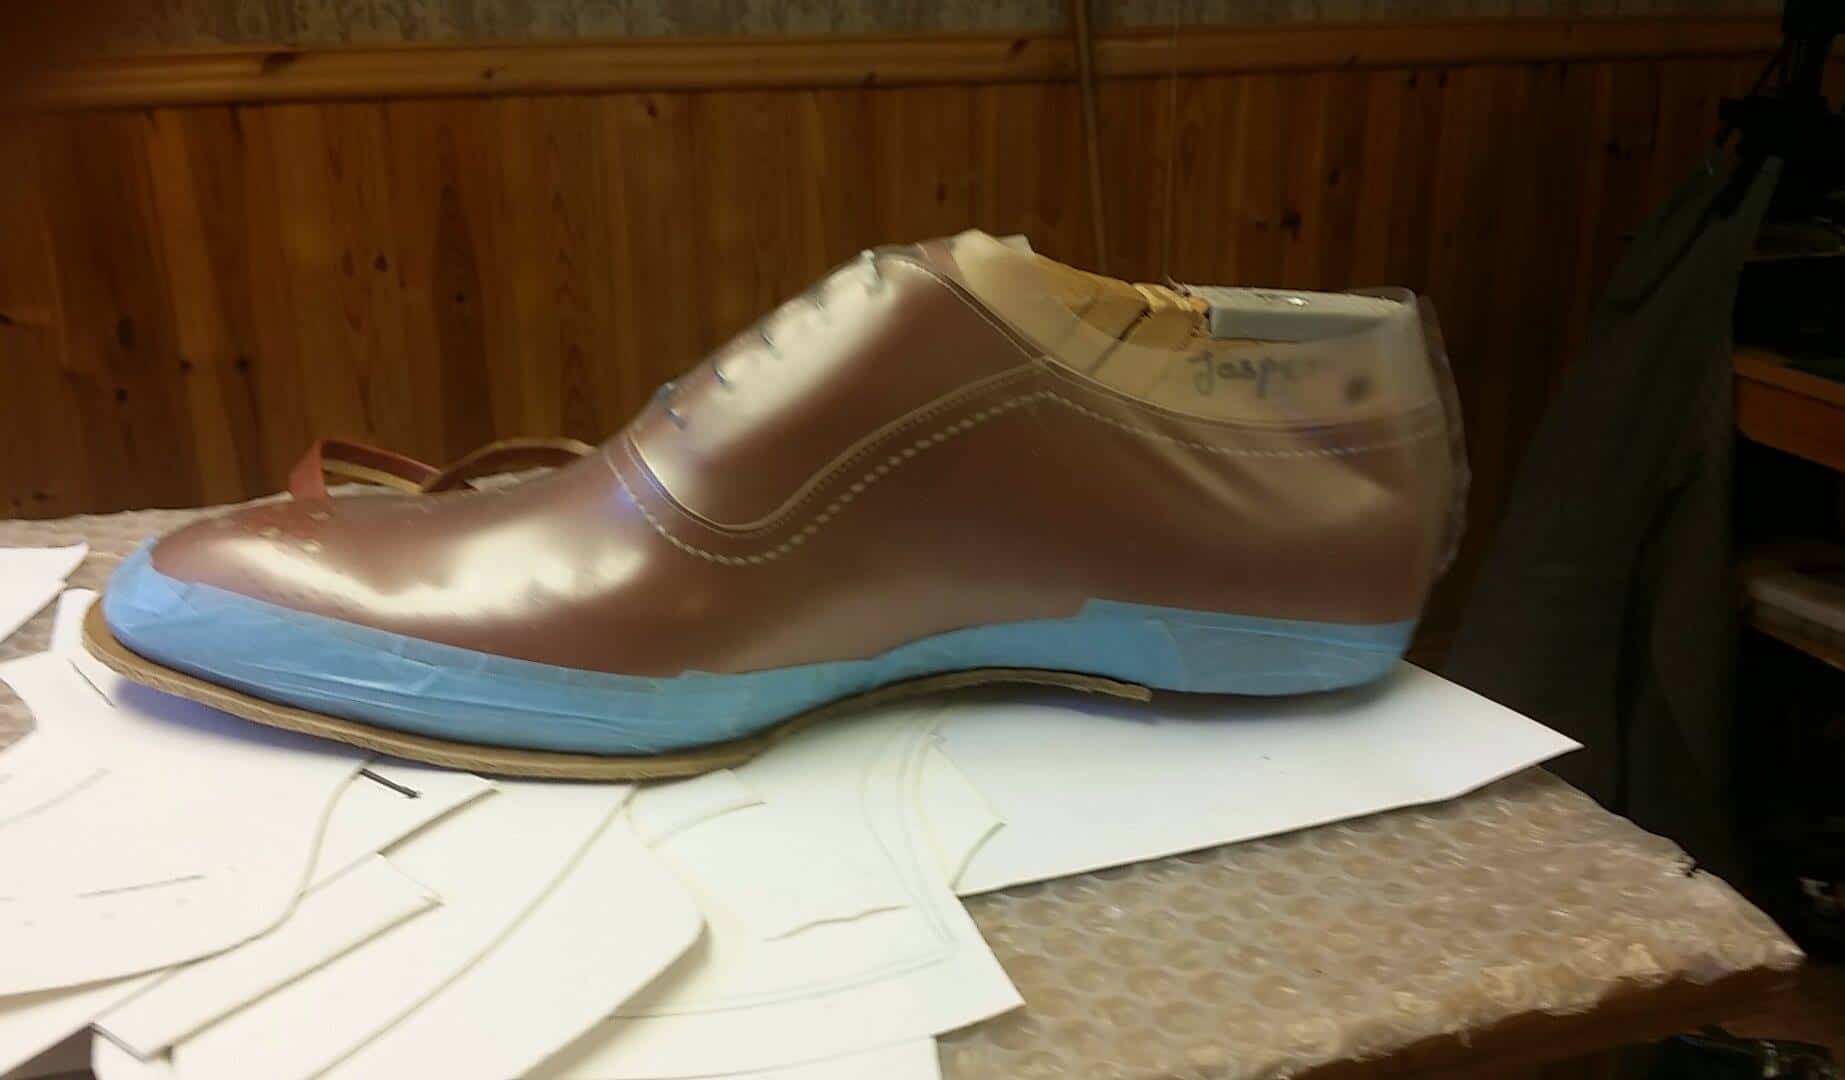
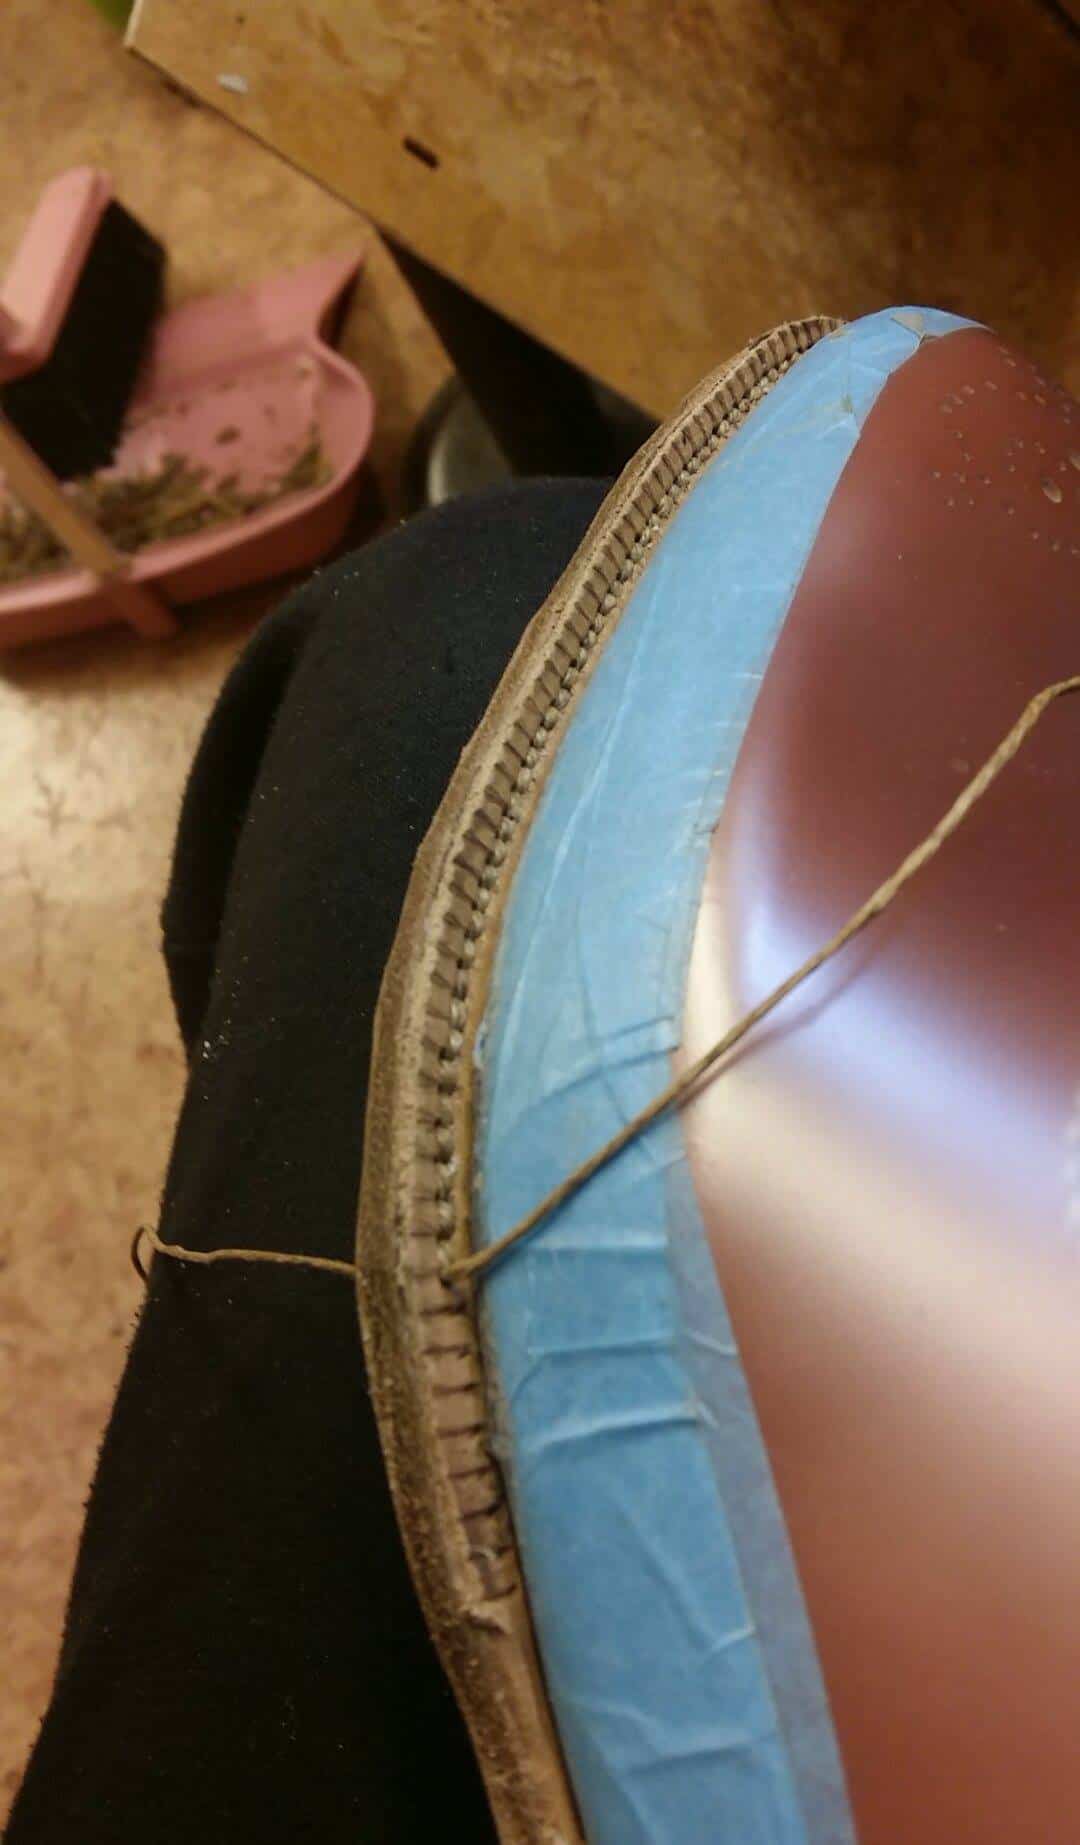
Cover plastic and tape.
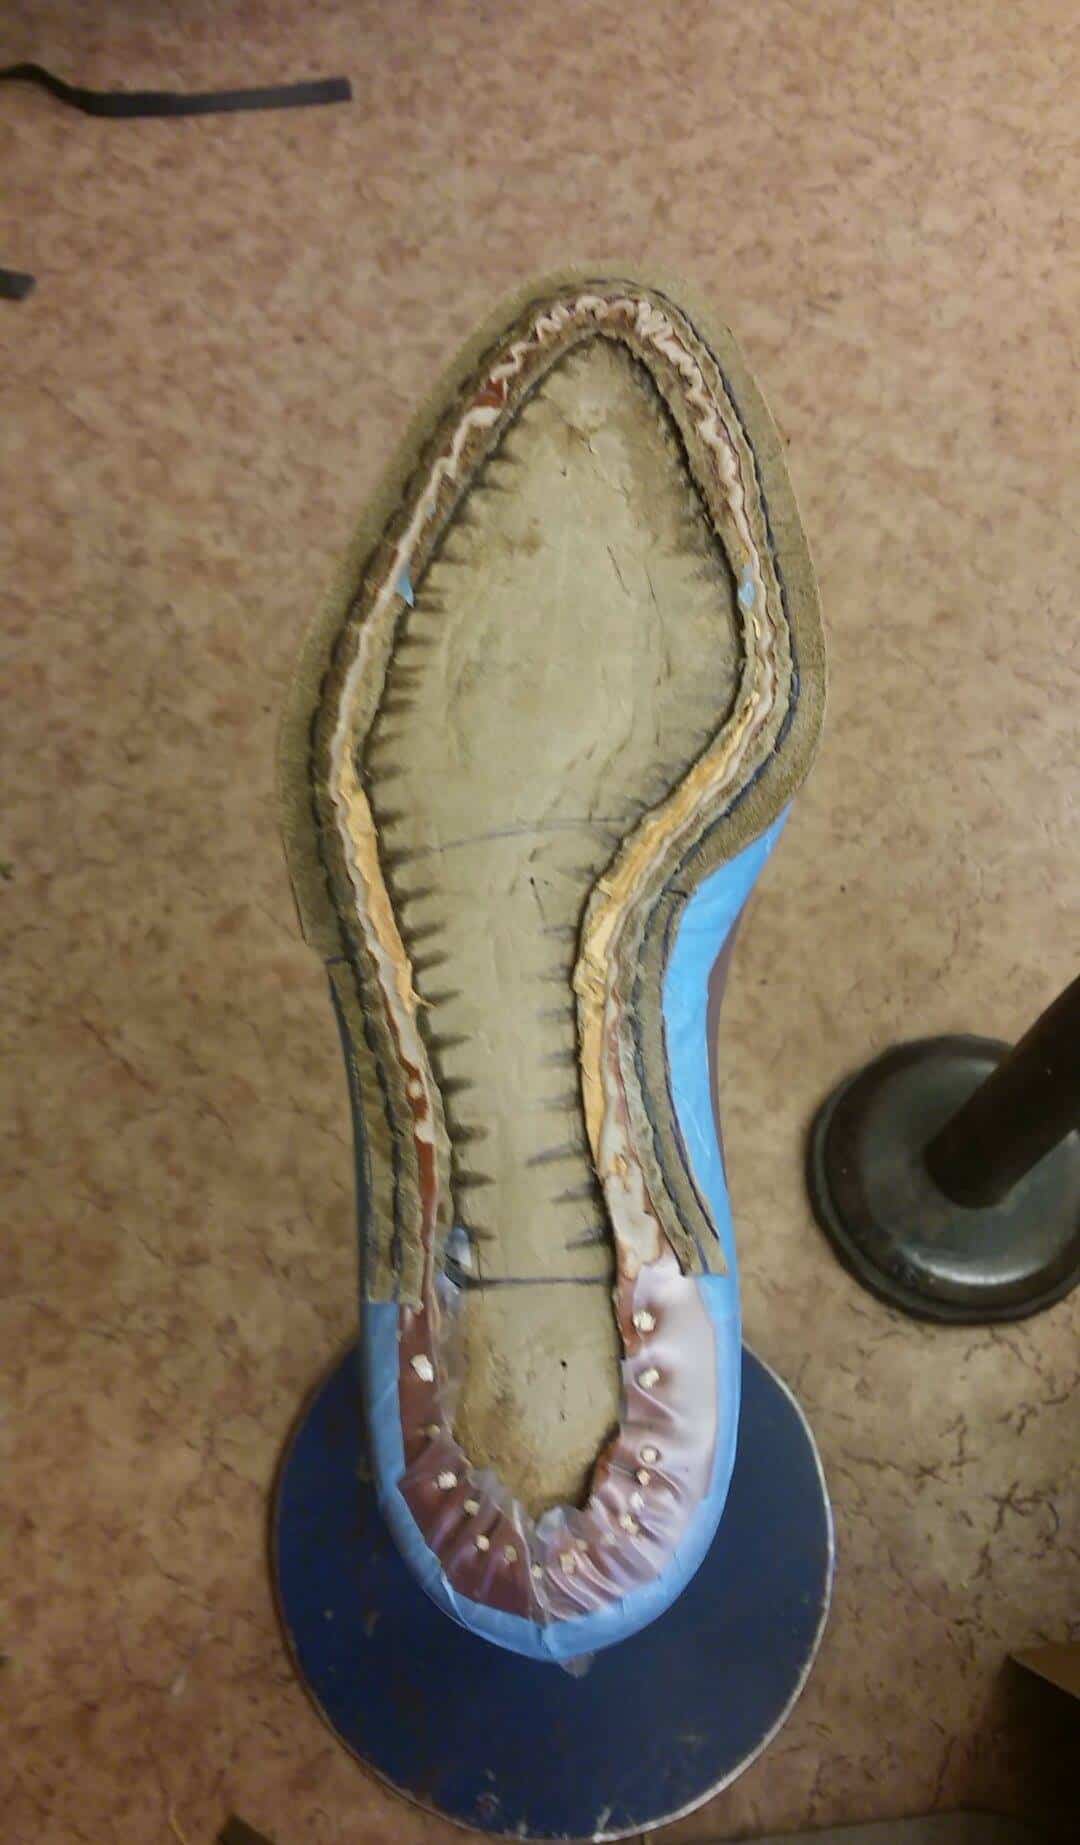
Welting done.
Other view.
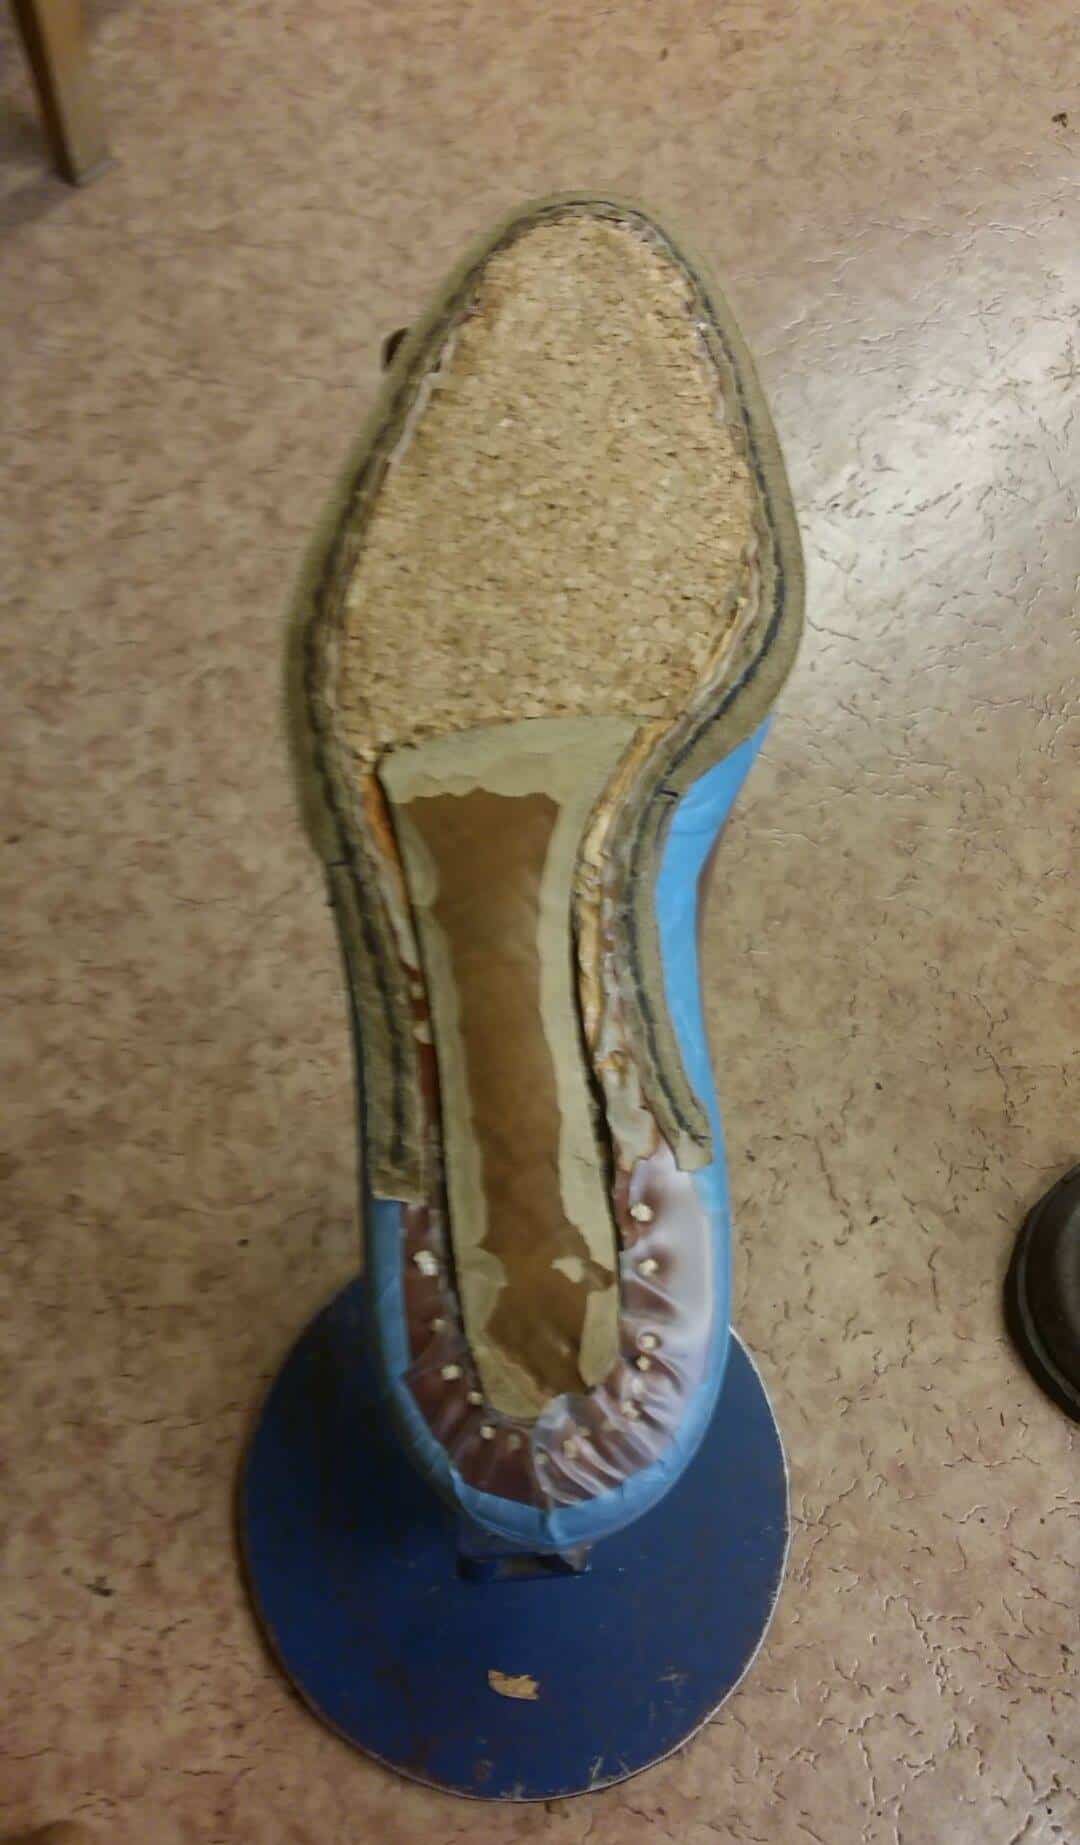
Cork plate filling and shank in metal covered with leather.
Sole stitching being made, as mentioned with 8 spi.
The shoe has been built, now only the finish is left.
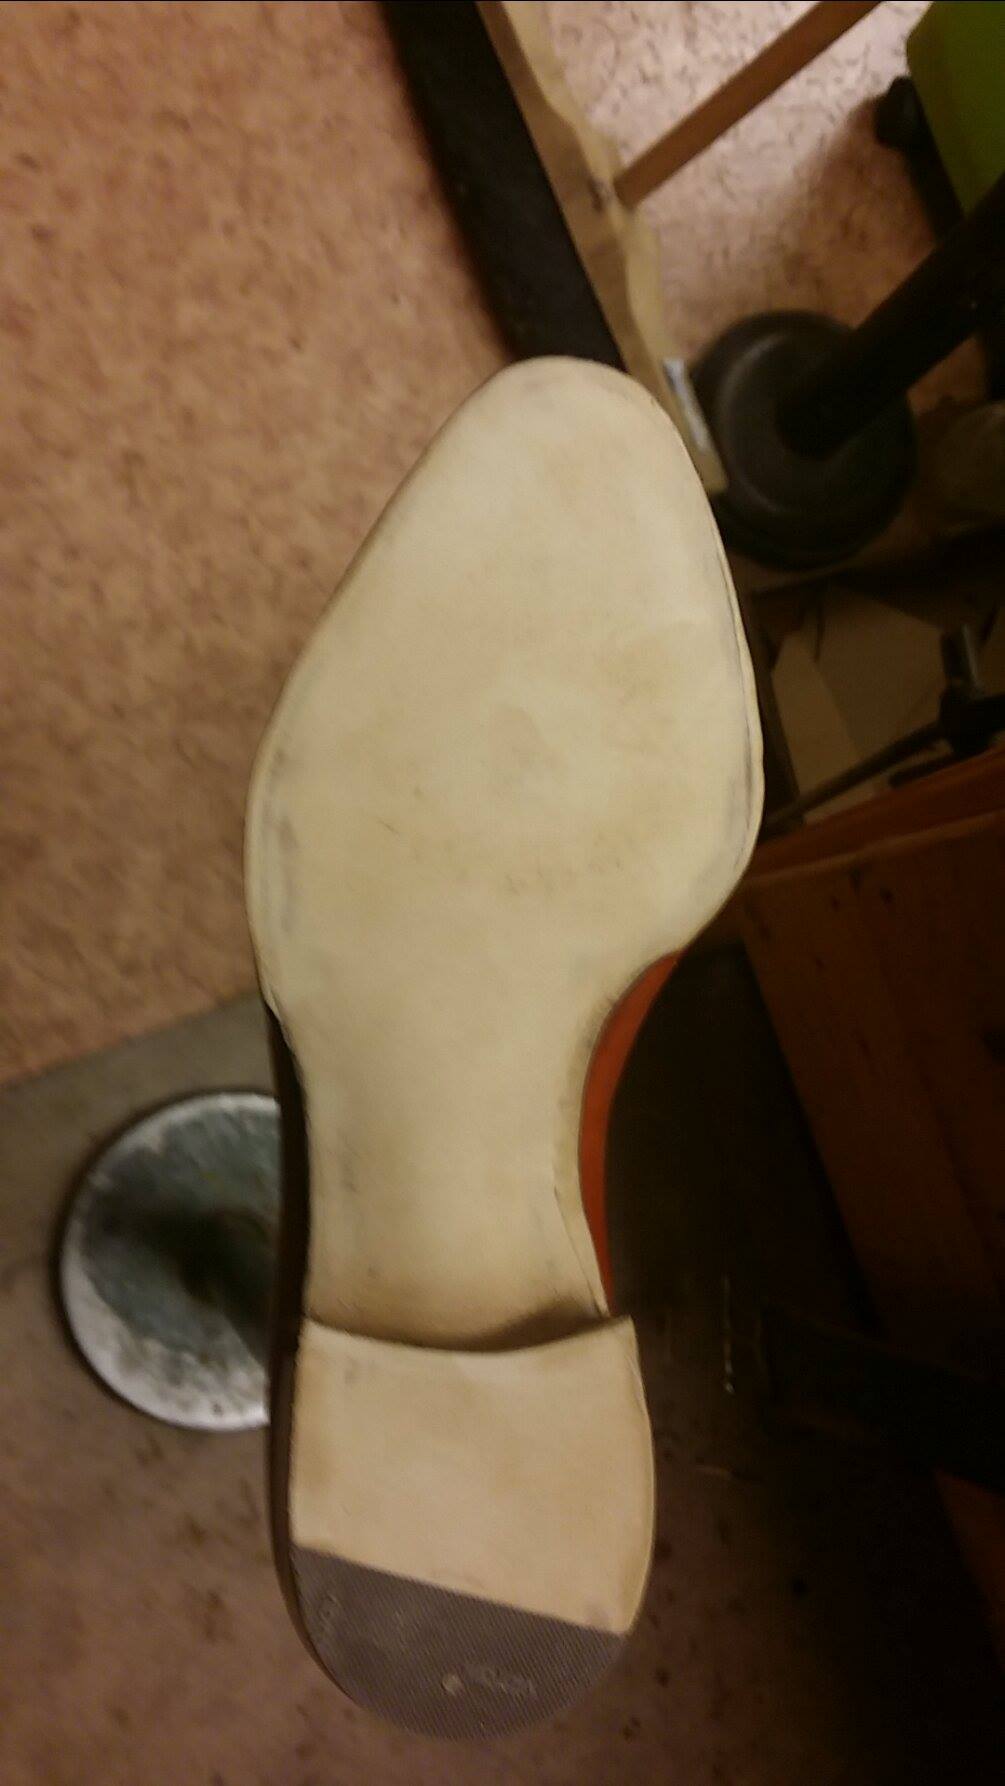
Here the lasts has been pulled and the sole edges painted.

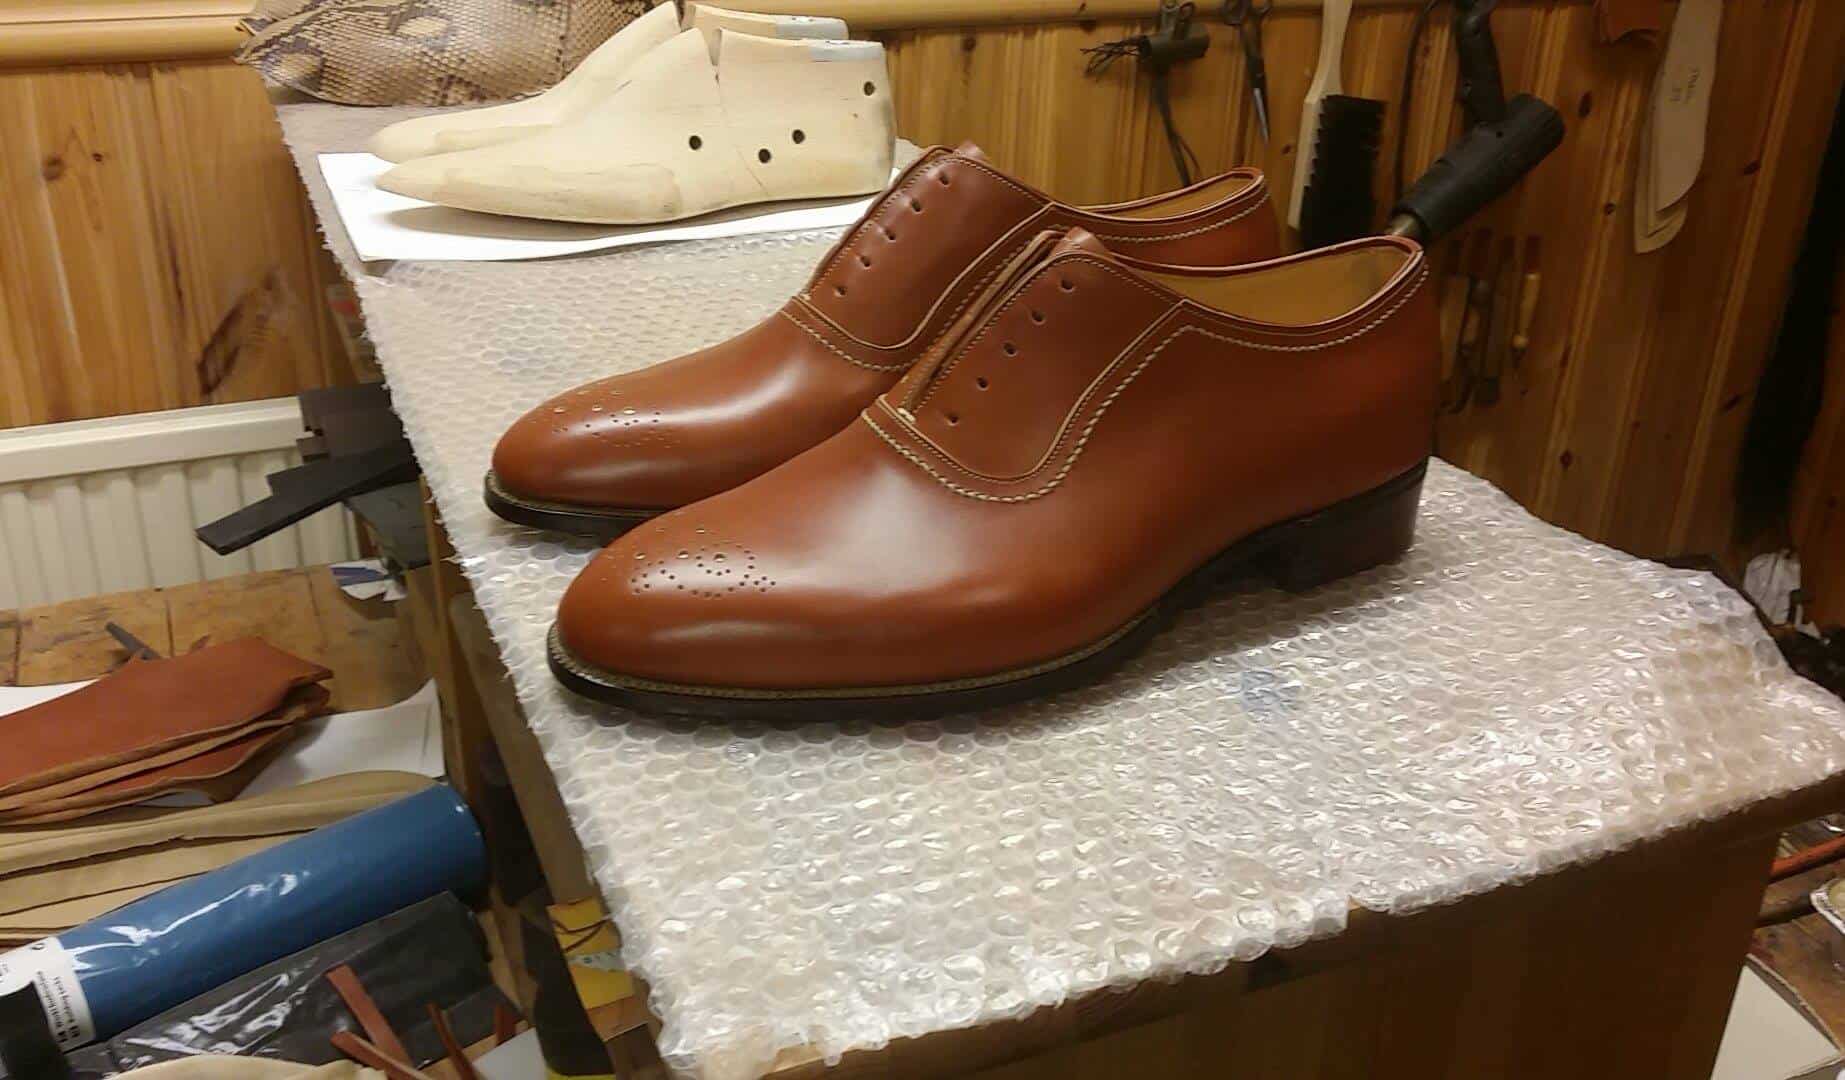
Ending up with a bunch of pics I’ve taken of the final shoes, which I’m very happy with.

–

–

–

–

–

–

–

–

–

–

–

–

–

–

–

–

–

–


Great post! Amazing shoe!
Mark: Thank you very much!